NAS Systems VM Creation
ProxMenux provides automated scripts that create and configure virtual machines for various NAS systems on Proxmox VE. This documentation covers the VM creation process for TrueNAS SCALE, TrueNAS CORE, OpenMediaVault, and Rockstor.
Script Overview
The VM creation script for NAS systems automates the process of setting up virtual machines optimized for running various Network Attached Storage solutions. The script handles all aspects of VM configuration, including hardware allocation, disk setup, and boot options.
The script simplifies the VM creation process by offering the following options:
- Selection of default or advanced configuration
- Configuration of CPU, RAM, BIOS, and machine type
- Choice between virtual disk or physical disk passthrough
- Selection of disk interface type (SCSI, SATA, VirtIO, or IDE)
- Automatic configuration of EFI and TPM when required
- Automatic mounting of installation ISO images
Default and Advanced Configuration
The script offers two configuration modes:
Default Configuration
If you select default configuration, the script will automatically apply the following values:
| Parameter | Default Value |
|---|---|
| Machine Type | q35 |
| BIOS Type | OVMF (UEFI) |
| CPU Type | Host |
| Core Count | 2 |
| RAM Size | 8192 MB |
| Bridge | vmbr0 |
| MAC Address | Automatically generated |
| Start VM on Completion | No |
If you want to customize the configuration, select the Advanced Settings option in the menu.
Advanced Configuration
If you select advanced configuration, the script will allow you to customize each parameter:
| Parameter | Options |
|---|---|
| Machine Type | q35 or i440fx |
| BIOS Type | OVMF (UEFI) or SeaBIOS (Legacy) |
| CPU Type | Host or KVM64 |
| Core Count | Number of CPU cores |
| RAM Size | Amount of memory allocated to the VM |
| Bridge | Network bridge for connection |
| MAC Address | Custom MAC address |
| VLAN | VLAN tag (if used) |
| MTU | Maximum Transmission Unit size |
Disk Interface Selection
Unlike the Synology-specific script, this script allows you to choose the disk interface type for both virtual and physical disks:
| Interface Type | Description | Best For |
|---|---|---|
| SCSI | Modern interface with good performance and features | Recommended for Linux and Windows (includes discard/trim support) |
| SATA | Standard interface with high compatibility | Good general-purpose choice (includes discard/trim support) |
| VirtIO | Paravirtualized interface with highest performance | Advanced users seeking maximum performance (includes discard/trim support) |
| IDE | Legacy interface with maximum compatibility | Legacy systems only (no discard/trim support) |
Disk Selection
Once the machine is configured, the script allows you to choose between two types of disks:
Virtual Disk
- The script lists the storage options available in Proxmox
- The user selects the disk and size in GB
- The virtual disk is automatically assigned to the VM using the selected interface type (SCSI, SATA, VirtIO, or IDE)
- Multiple disks can be added and will be assigned sequential device numbers (e.g., scsi0, scsi1, etc.)
Physical Disk Passthrough
- The script detects all available physical disks
- The user selects the physical disk or disks they want to use
- The physical disk is directly assigned to the VM via passthrough using the selected interface type (SCSI, SATA, VirtIO, or IDE)
- Multiple disks can be added and will be assigned sequential device numbers (e.g., scsi0, scsi1, etc.)
Additional Features
EFI Disk Configuration
When UEFI BIOS (OVMF) is selected, the script automatically configures an EFI disk:
- The script prompts for storage location for the EFI disk
- A 4MB EFI disk is created and configured
- The EFI disk is properly formatted based on the storage type (raw format for directory-based storage)
ISO Mounting
The script handles ISO mounting for installation:
- The installation ISO is automatically mounted to the ide2 device
- For Windows VMs, VirtIO driver ISO can be automatically downloaded and mounted to ide3
QEMU Guest Agent
The script automatically configures QEMU Guest Agent support:
- Enables the QEMU Guest Agent in the VM configuration
- Sets up the necessary communication channel
- Provides instructions for installing the guest agent inside the VM after installation
NAS-Specific Installation Notes
TrueNAS SCALE
- Recommended interface: SATA or SCSI
- Minimum RAM: 8GB (16GB+ recommended)
- Minimum CPU cores: 2 (4+ recommended)
- UEFI boot is recommended
- VirtIO network adapter provides best performance
TrueNAS CORE
- Recommended interface: SATA
- Minimum RAM: 8GB (16GB+ recommended)
- Minimum CPU cores: 2 (4+ recommended)
- UEFI boot is recommended
- VirtIO network adapter provides best performance
OpenMediaVault
- Recommended interface: SATA or VirtIO
- Minimum RAM: 2GB (4GB+ recommended)
- Minimum CPU cores: 1 (2+ recommended)
- Both UEFI and Legacy BIOS are supported
- VirtIO network adapter provides best performance
Rockstor
- Recommended interface: SATA or VirtIO
- Minimum RAM: 2GB (4GB+ recommended)
- Minimum CPU cores: 2
- UEFI boot is recommended
- VirtIO network adapter provides best performance
Installation Process
After configuring the VM settings and disk options, the script will:
- Create the VM with the specified configuration
- Configure EFI disk if UEFI BIOS is selected
- Create and attach virtual disks or pass through physical disks
- Mount the installation ISO
- Set the boot order (disk first, then ISO)
- Configure the QEMU Guest Agent
- Generate a detailed HTML description for the VM
- Start the VM if requested
Once the VM is created, you can proceed with the installation of your chosen NAS system by following the on-screen instructions in the VM console.
NAS Systems Interfaces
Below are screenshots of the shell and web interfaces for each NAS system after successful installation:
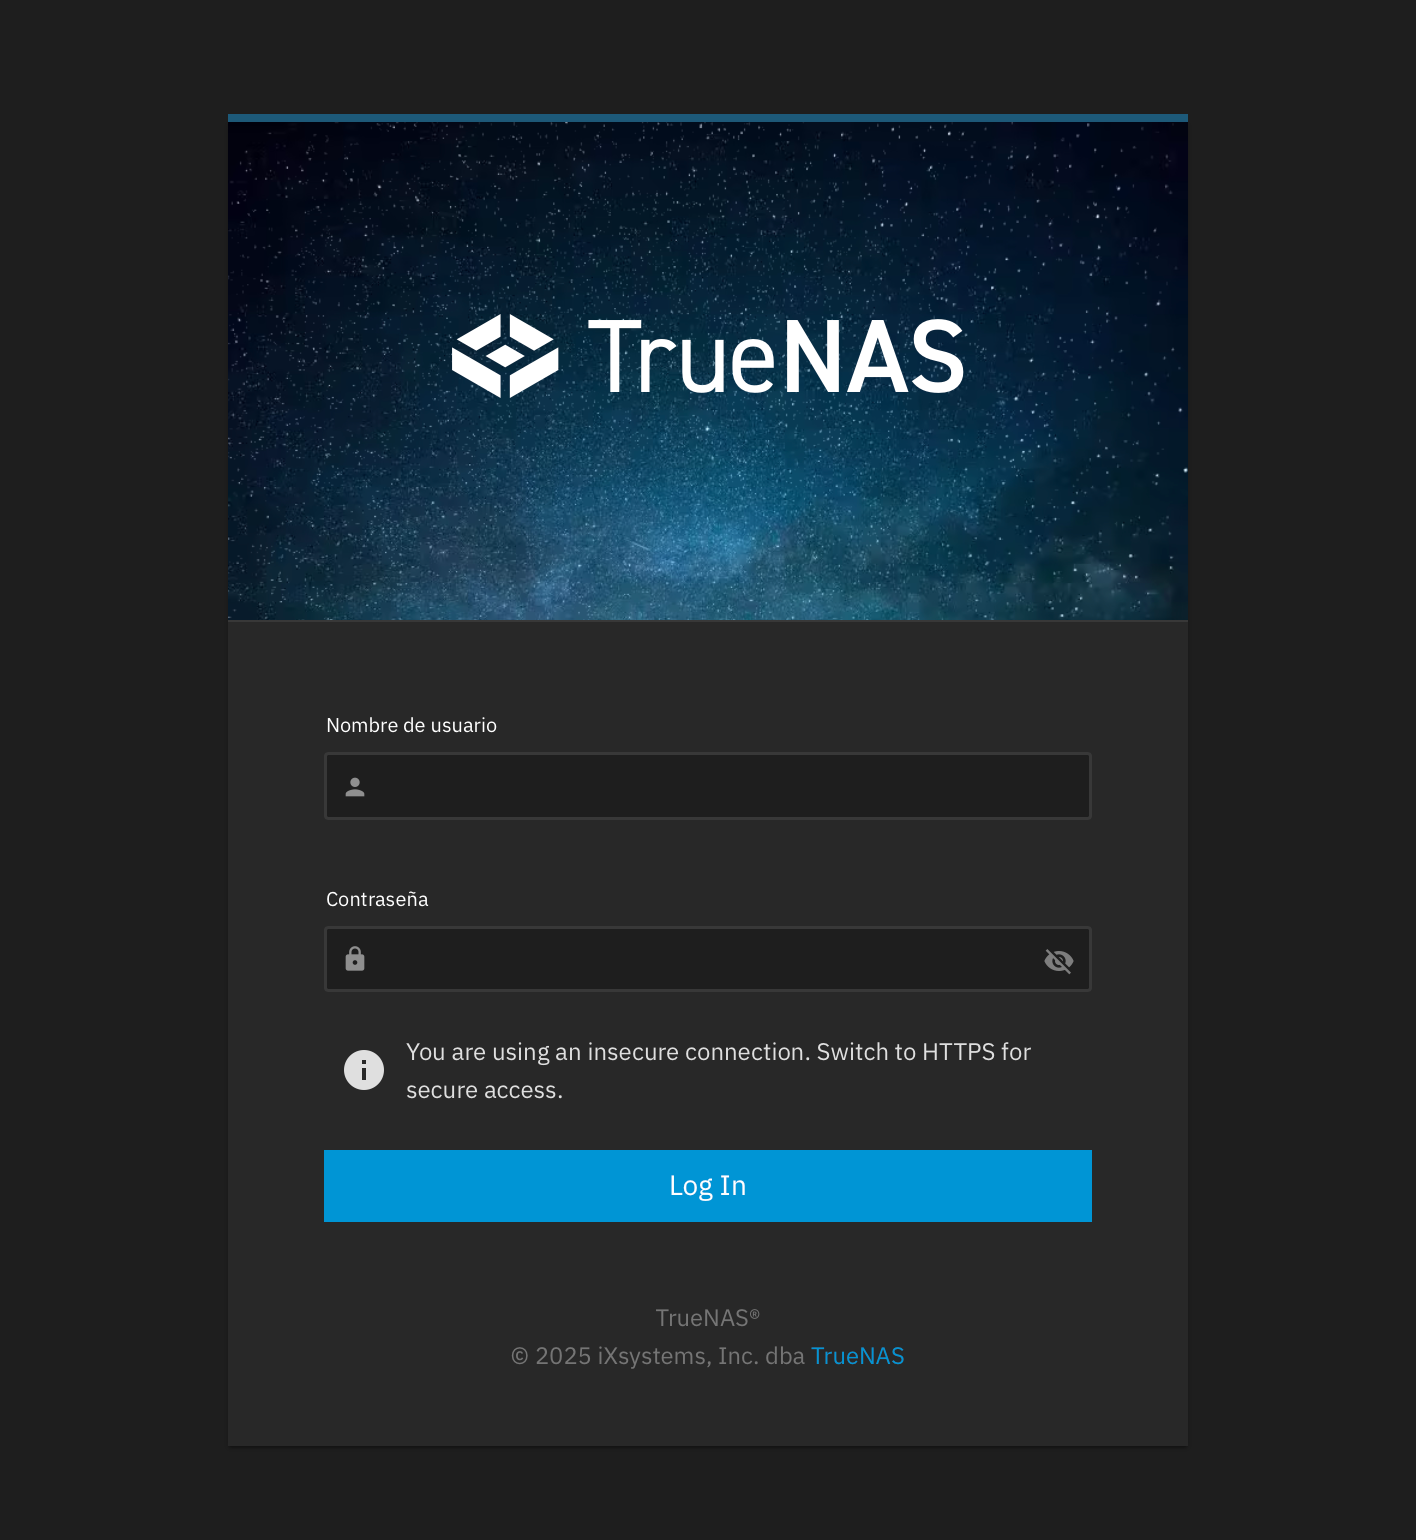
TrueNAS SCALEOfficial Website
Shell Interface
Web Interface
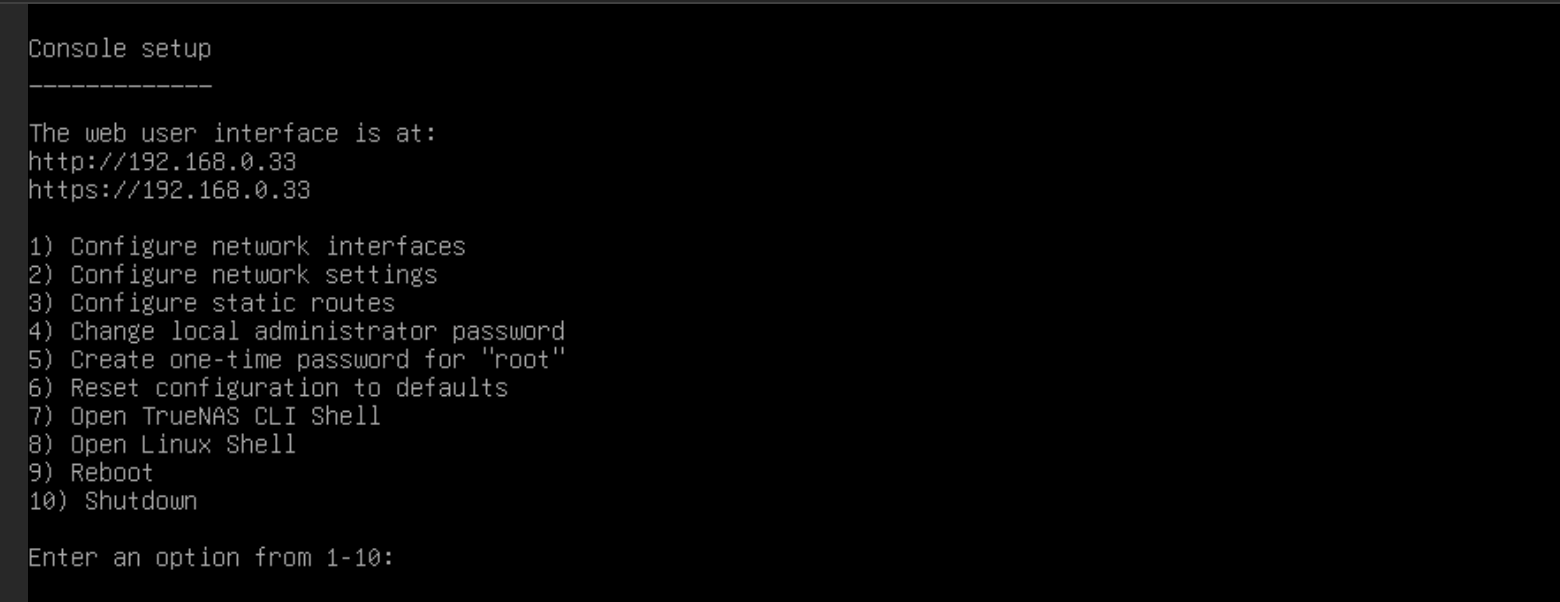
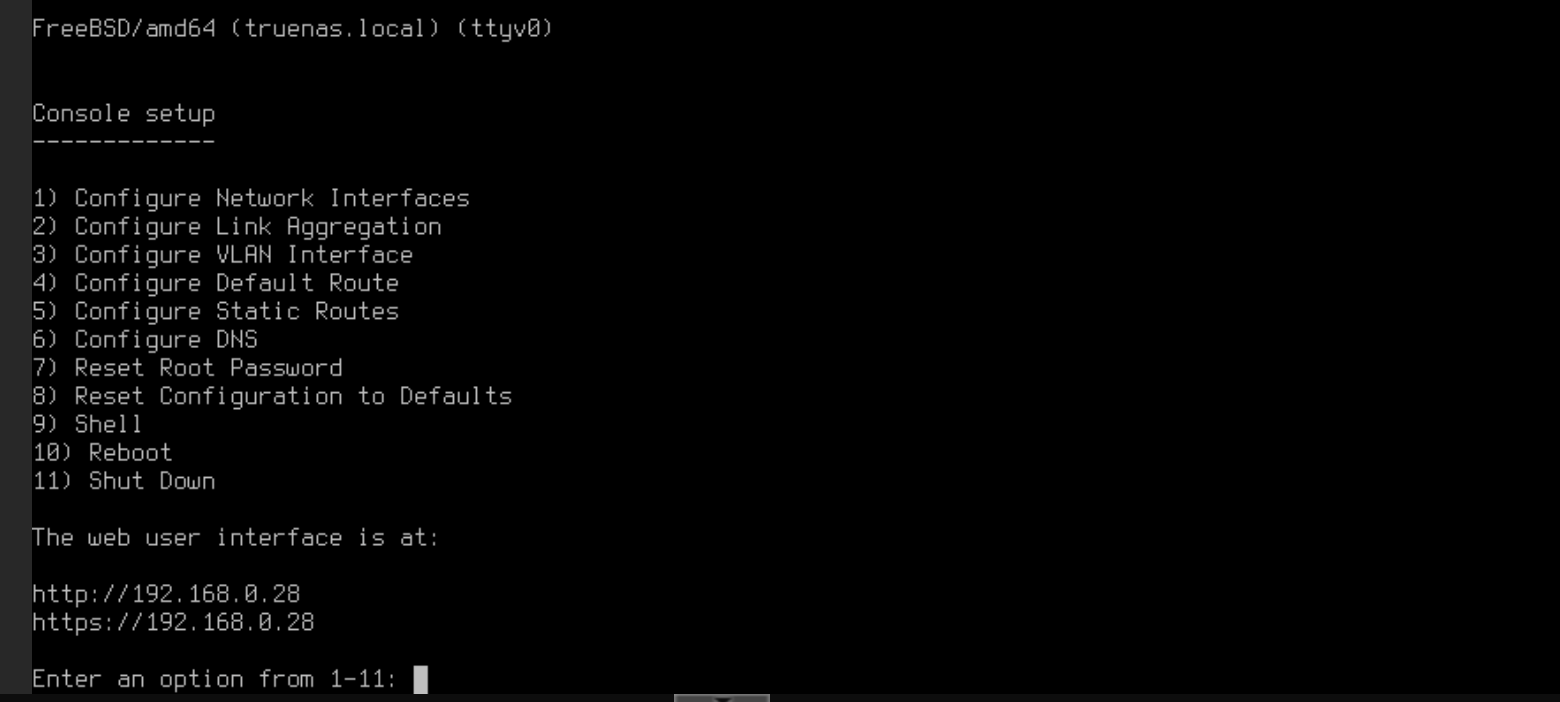
TrueNAS COREOfficial Website
Shell Interface
Web Interface

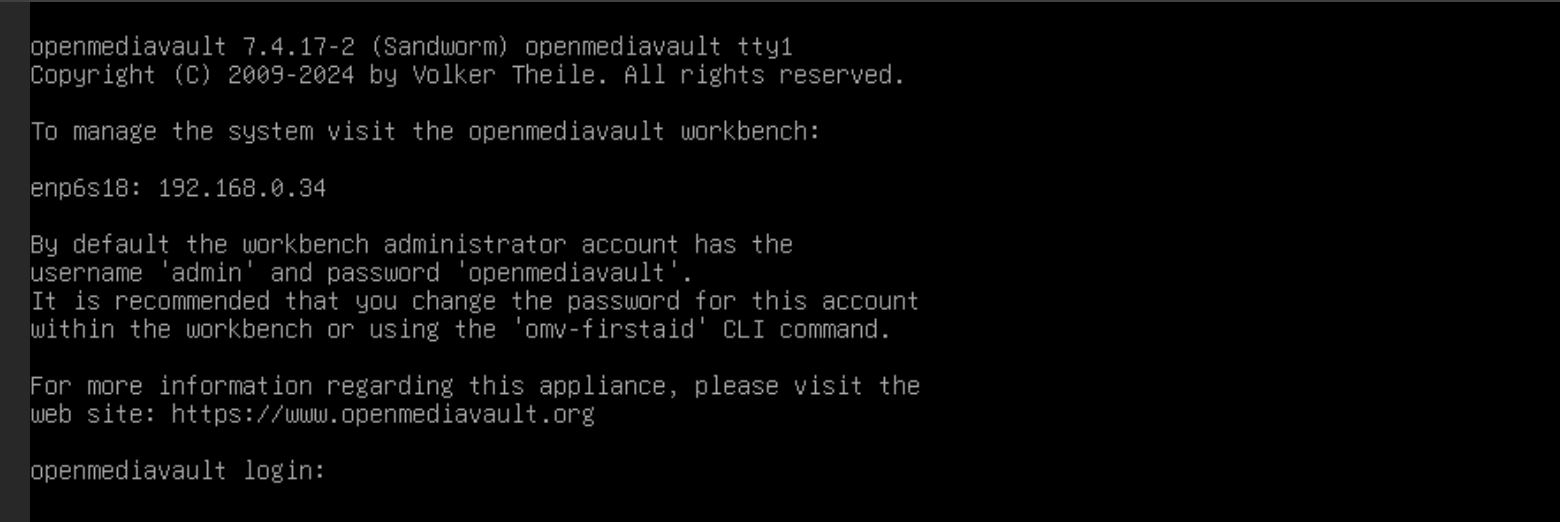
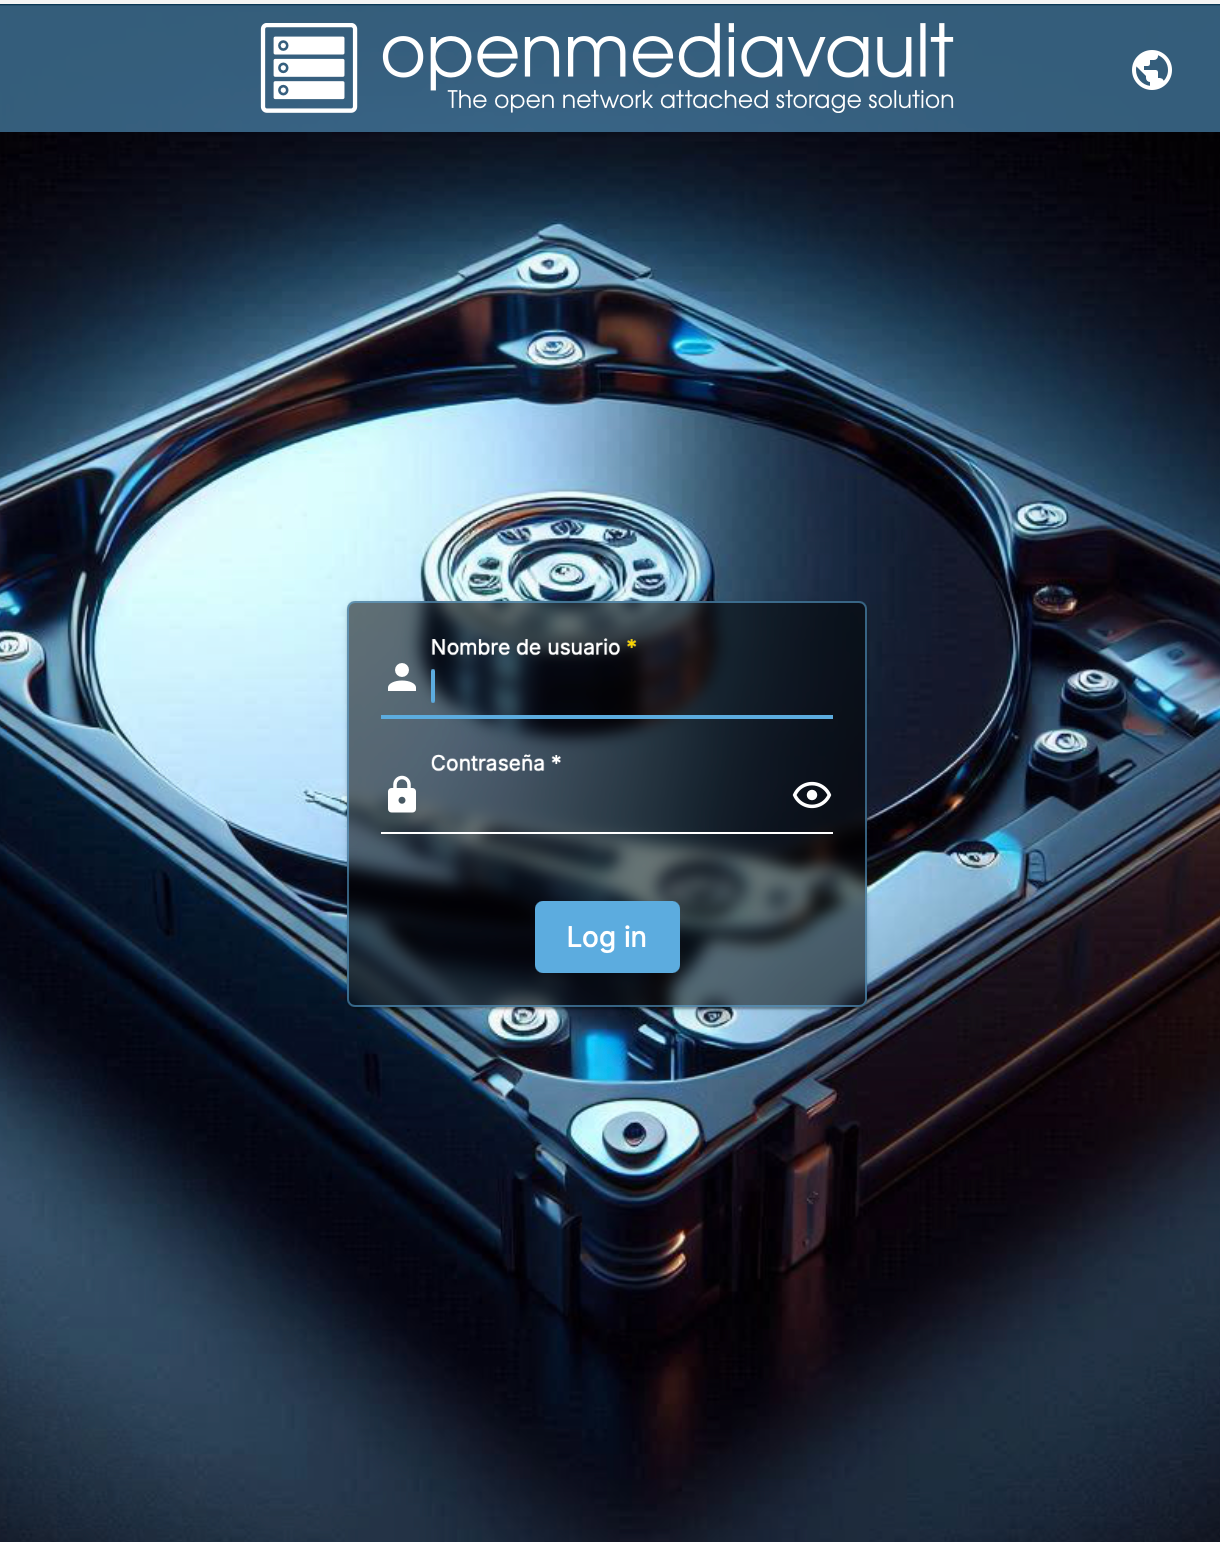
OpenMediaVaultOfficial Website
Shell Interface
Web Interface
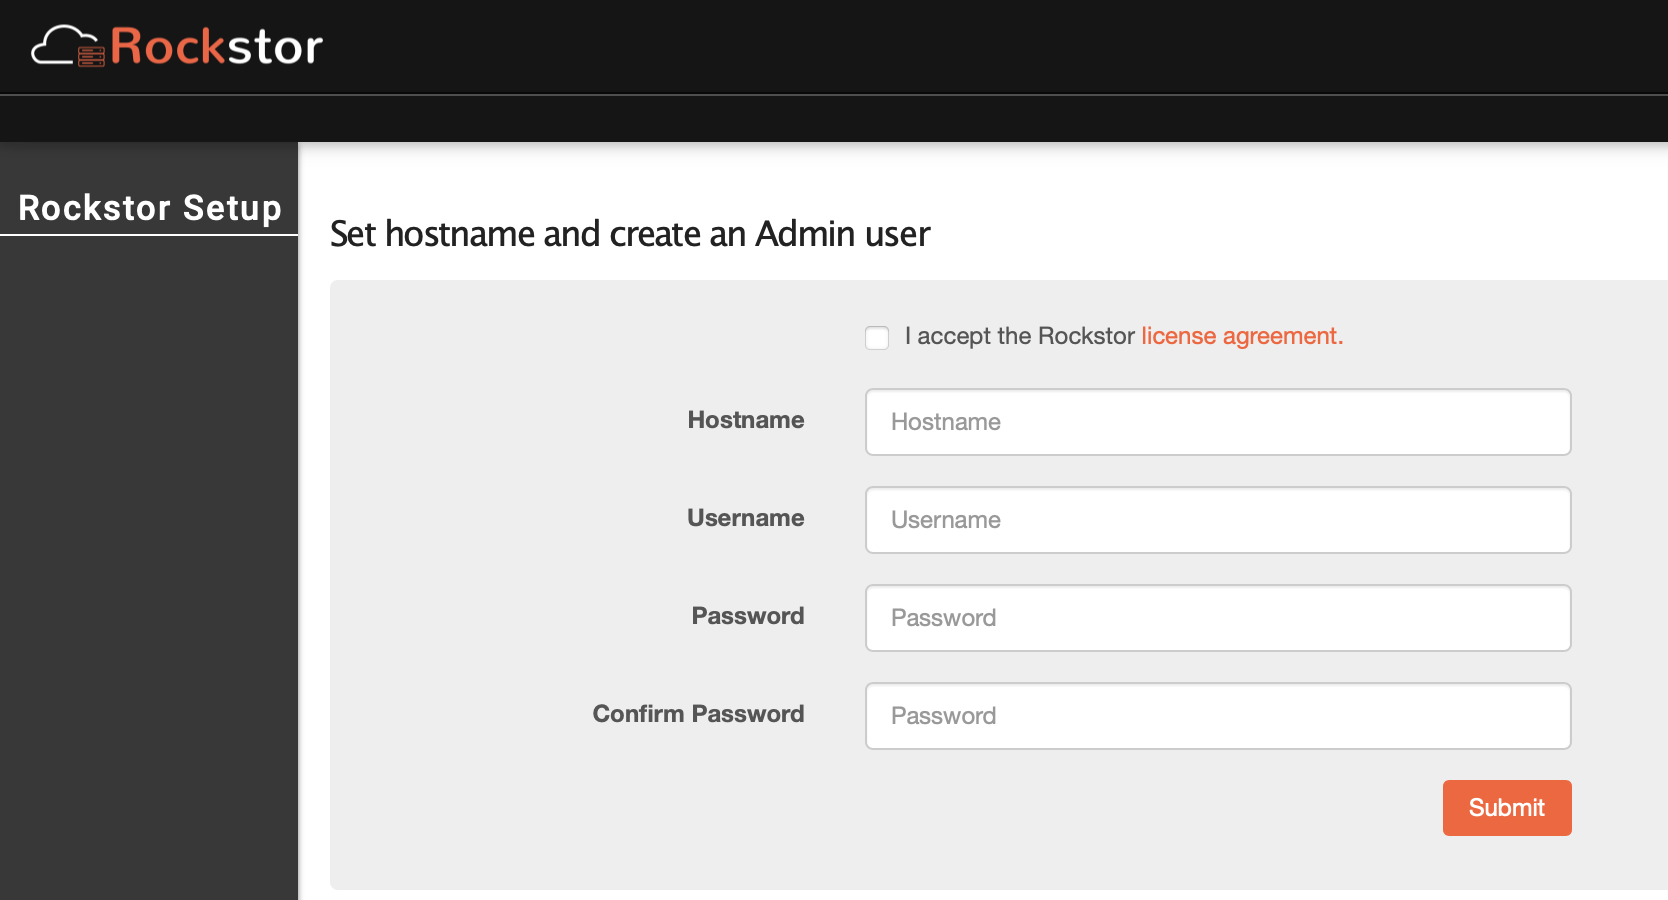
RockstorOfficial Website
Shell Interface

Web Interface