Synology VM Creator Script
Introduction
ProxMenux provides an automated script that creates and configures a virtual machine (VM) to install Synology DSM (DiskStation Manager) on Proxmox VE. This script simplifies the process by downloading and adding one of the available loaders to the VM boot, giving you the option between four different choices:
- AuxXxilium Arc
- RedPill RR
- TinyCore RedPill M-shell
- Custom Loader – option to use a custom loader if you prefer to modify or create your own configuration
The script simplifies the VM creation process by offering the following options:
- Selection of default or advanced configuration
- Configuration of CPU, RAM, BIOS, and machine type
- Choice between virtual disk or physical disk passthrough
Default and Advanced Configuration
The script offers two configuration modes:
Default Configuration
If you select default configuration, the script will automatically apply the following values:
| Parameter | Default Value |
|---|---|
| Machine Type | q35 |
| BIOS Type | OVMF (UEFI) |
| CPU Type | Host |
| Core Count | 2 |
| RAM Size | 4096 MB |
| Bridge | vmbr0 |
| MAC Address | Automatically generated |
| Start VM on Completion | No |
If you want to customize the configuration, select the Advanced Settings option in the menu.
Advanced Configuration
If you select advanced configuration, the script will allow you to customize each parameter:
| Parameter | Options |
|---|---|
| Machine Type | q35 or i440fx |
| BIOS Type | OVMF (UEFI) or SeaBIOS (Legacy) |
| CPU Type | Host or KVM64 |
| Core Count | Number of CPU cores |
| RAM Size | Amount of memory allocated to the VM |
| Bridge | Network bridge for connection |
| MAC Address | Custom MAC address |
| VLAN | VLAN tag (if used) |
| MTU | Maximum Transmission Unit size |
Disk Selection
Once the machine is configured, the script allows you to choose between two types of disks:
Virtual Disk
- The script lists the storage options available in Proxmox
- The user selects the disk and size in GB
- The virtual disk is automatically assigned to the VM. If more disks are configured, they will be added as SATA (e.g., sata0, sata1, etc.), up to a maximum of 6 virtual disks.
Physical Disk Passthrough
- The script detects all available physical disks
- The user selects the physical disk or disks they want to use.
- The physical disk is directly assigned to the VM via passthrough. If more disks are configured, they will be added as SATA (e.g., sata0, sata1, etc.), up to a maximum of 6 physical disks.
Loader Installation
The script automatically downloads and extracts the loader from the developer's repository. If the download fails, the script will display an error message.
AuxXxilium Arc, RedPill RR, and TinyCore RedPill M-shell.Downloads and extracts automatically.
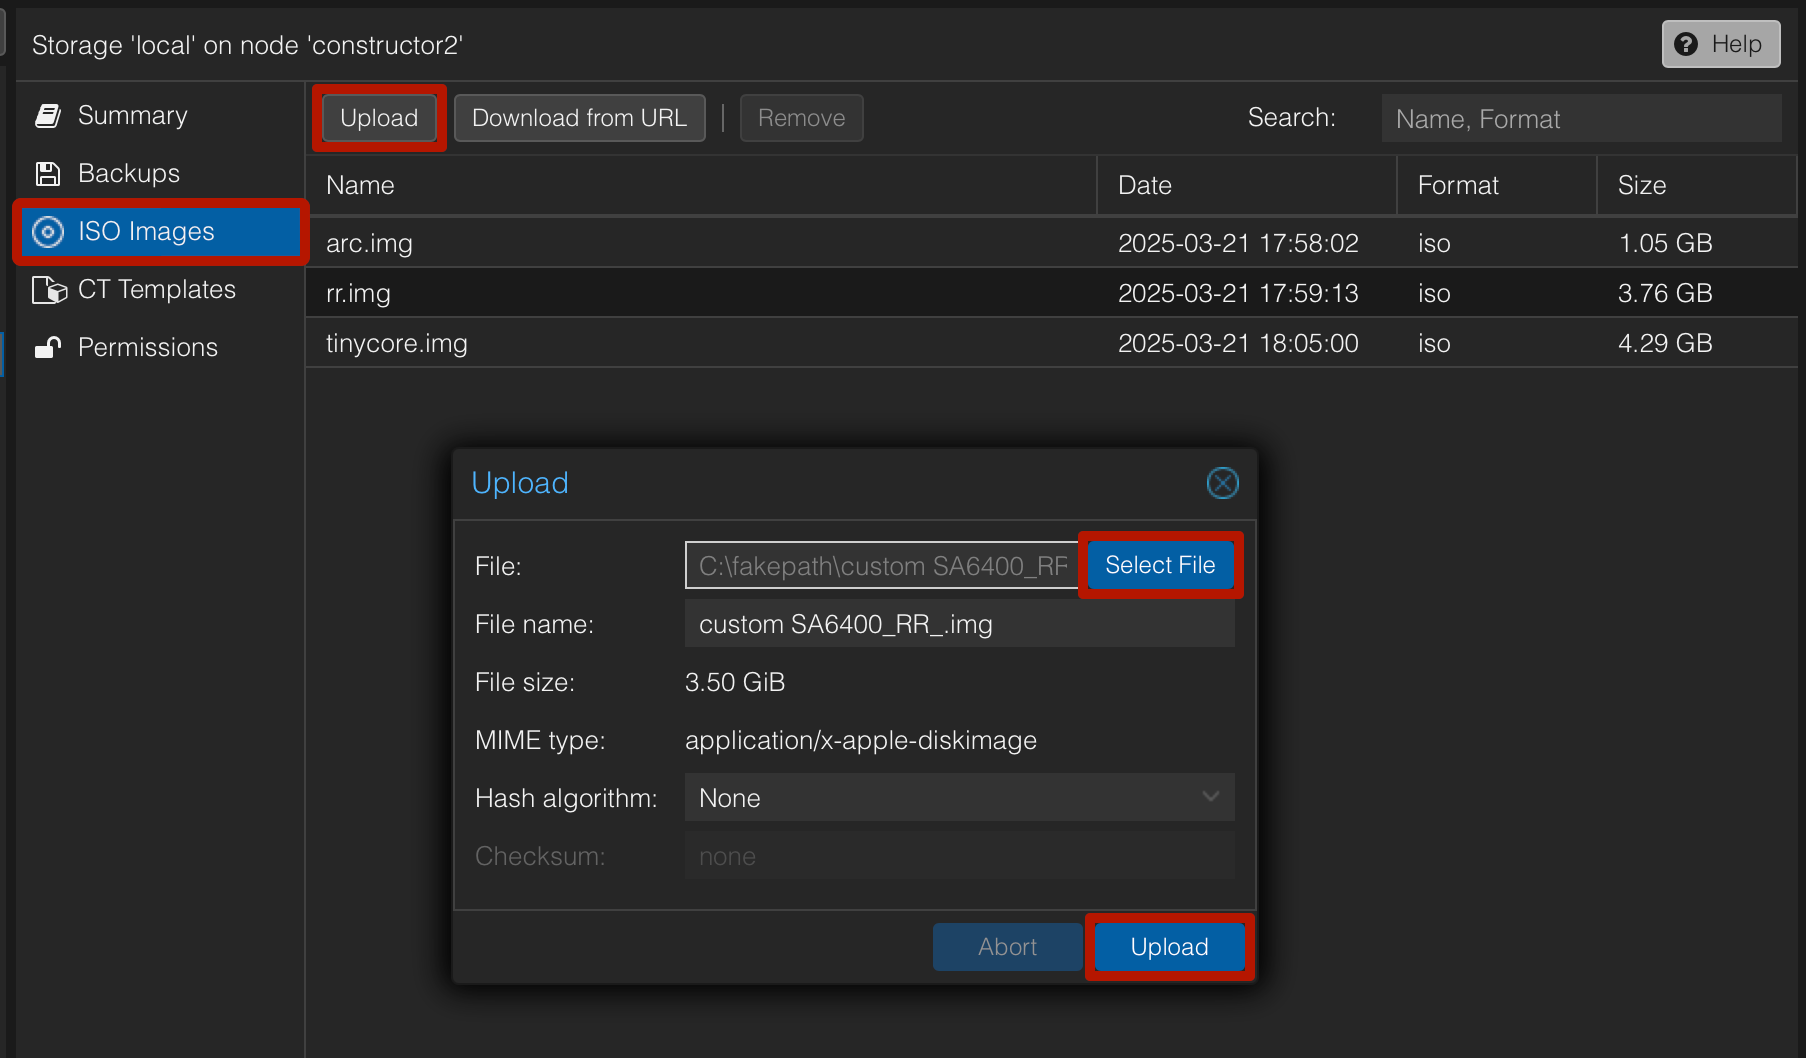
For Custom Loader, the script searches for files in /var/lib/vz/template/iso. If multiple files are found, you will be prompted to select the desired file.
You can upload custom loaders from the local storage options:
VM Creation
Once the loader is downloaded, the script creates the VM using the following commands:
qm create– Creates the virtual machine with the configured parametersqm importdisk– Imports the boot loader disk to the VM. For greater compatibility the loader is imported as an IDE diskqm set– Assigns configuration values such as CPU, RAM, and storageqm set -boot– Configures the boot order
Step-by-Step Boot Loader Configuration Guide
While all loaders share similarities, each one has its own structure and configuration methods. This section provides a basic guide covering the 6 steps involved in setting up a Synology DSM loader. The exact steps may vary depending on the loader and any changes introduced by the developer. Therefore, understanding these common basic steps is crucial to correctly building and configuring the loader of your choice for proper Synology DSM functionality.
Select your loader type:
Start the VM and Access the Main Menu
Once the VM is created, start it. The first time you boot the VM, you'll access the loader's main menu to select and configure the DSM model you want to build. Once the loader is created, this step will be skipped unless you manually force a reconfiguration from the boot monitor. All loaders also have the option to configure the loader via a web interface.
Web interface, To access the web interface, simply open a web browser and enter the IP address shown in the VM's console output. For example, in our case: http://192.169.0.32.
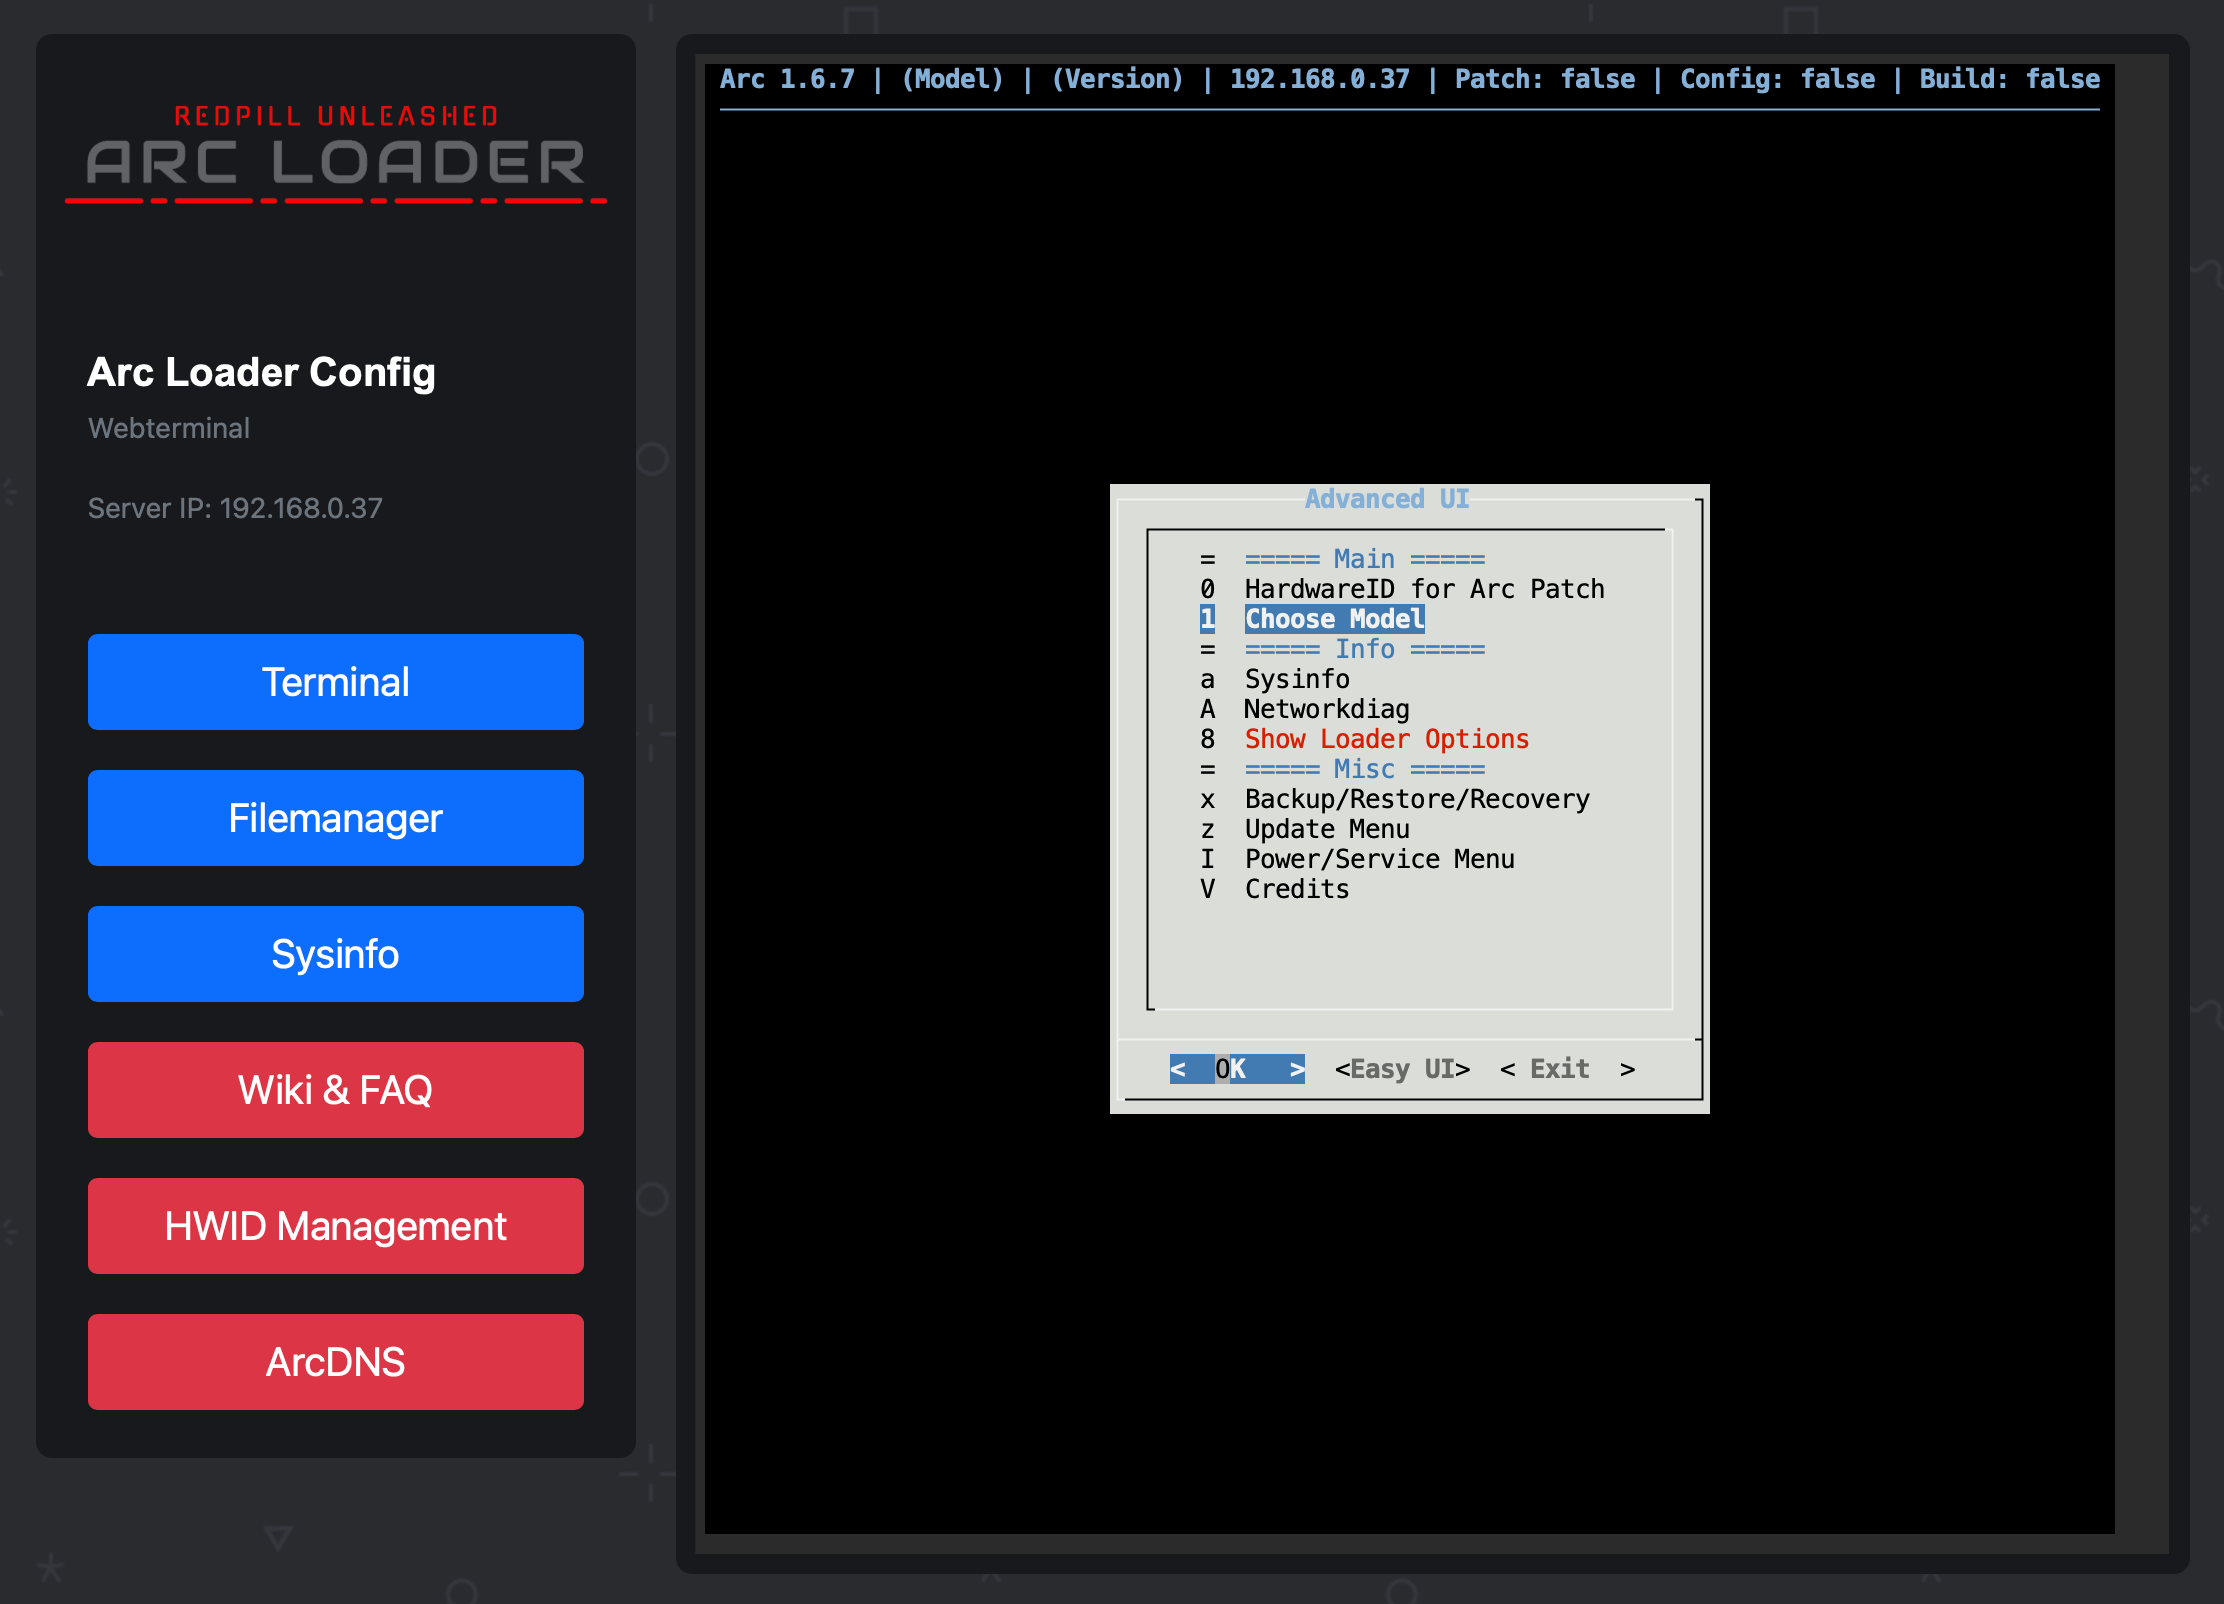
Terminal interface, Access it directly from the VM's console output.
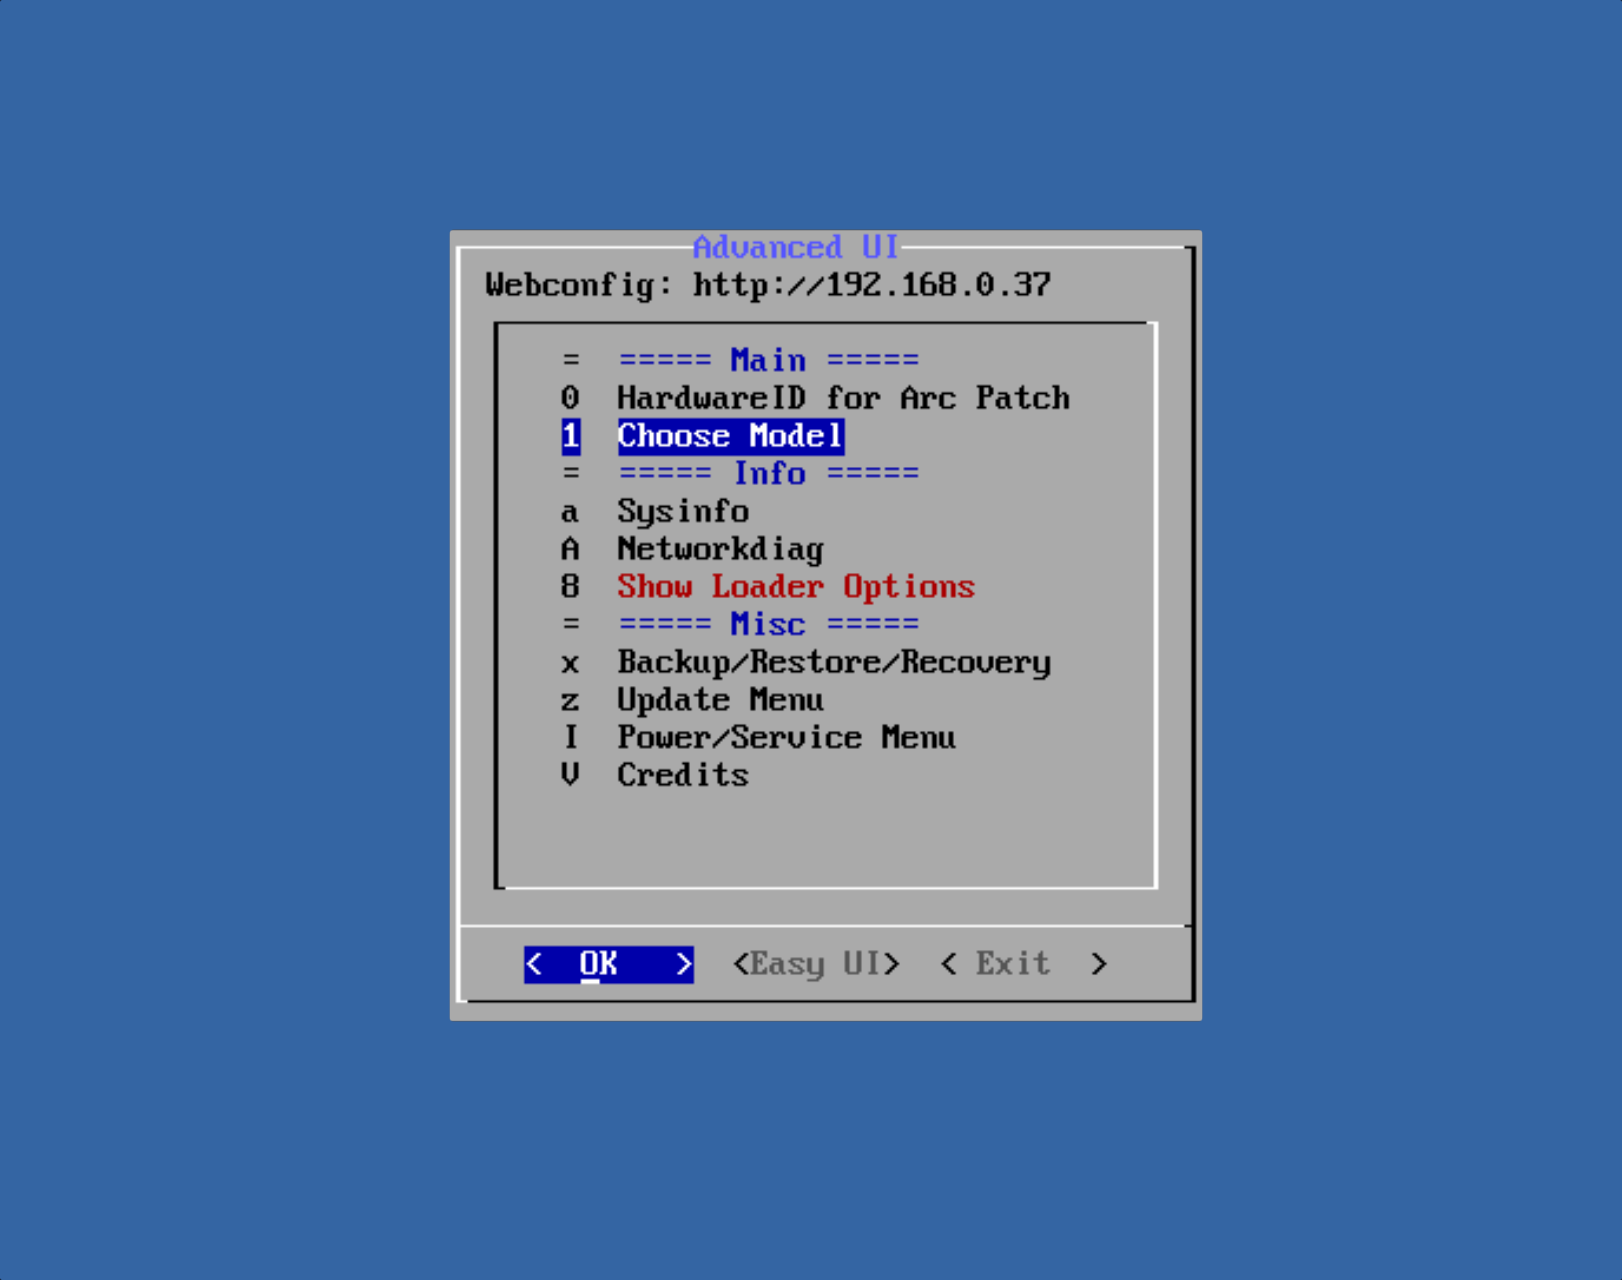
Select Model
After loading the menu, select the Synology DSM model you want to install. Depending on the loader, you may sometimes need to expand the options to see more models.
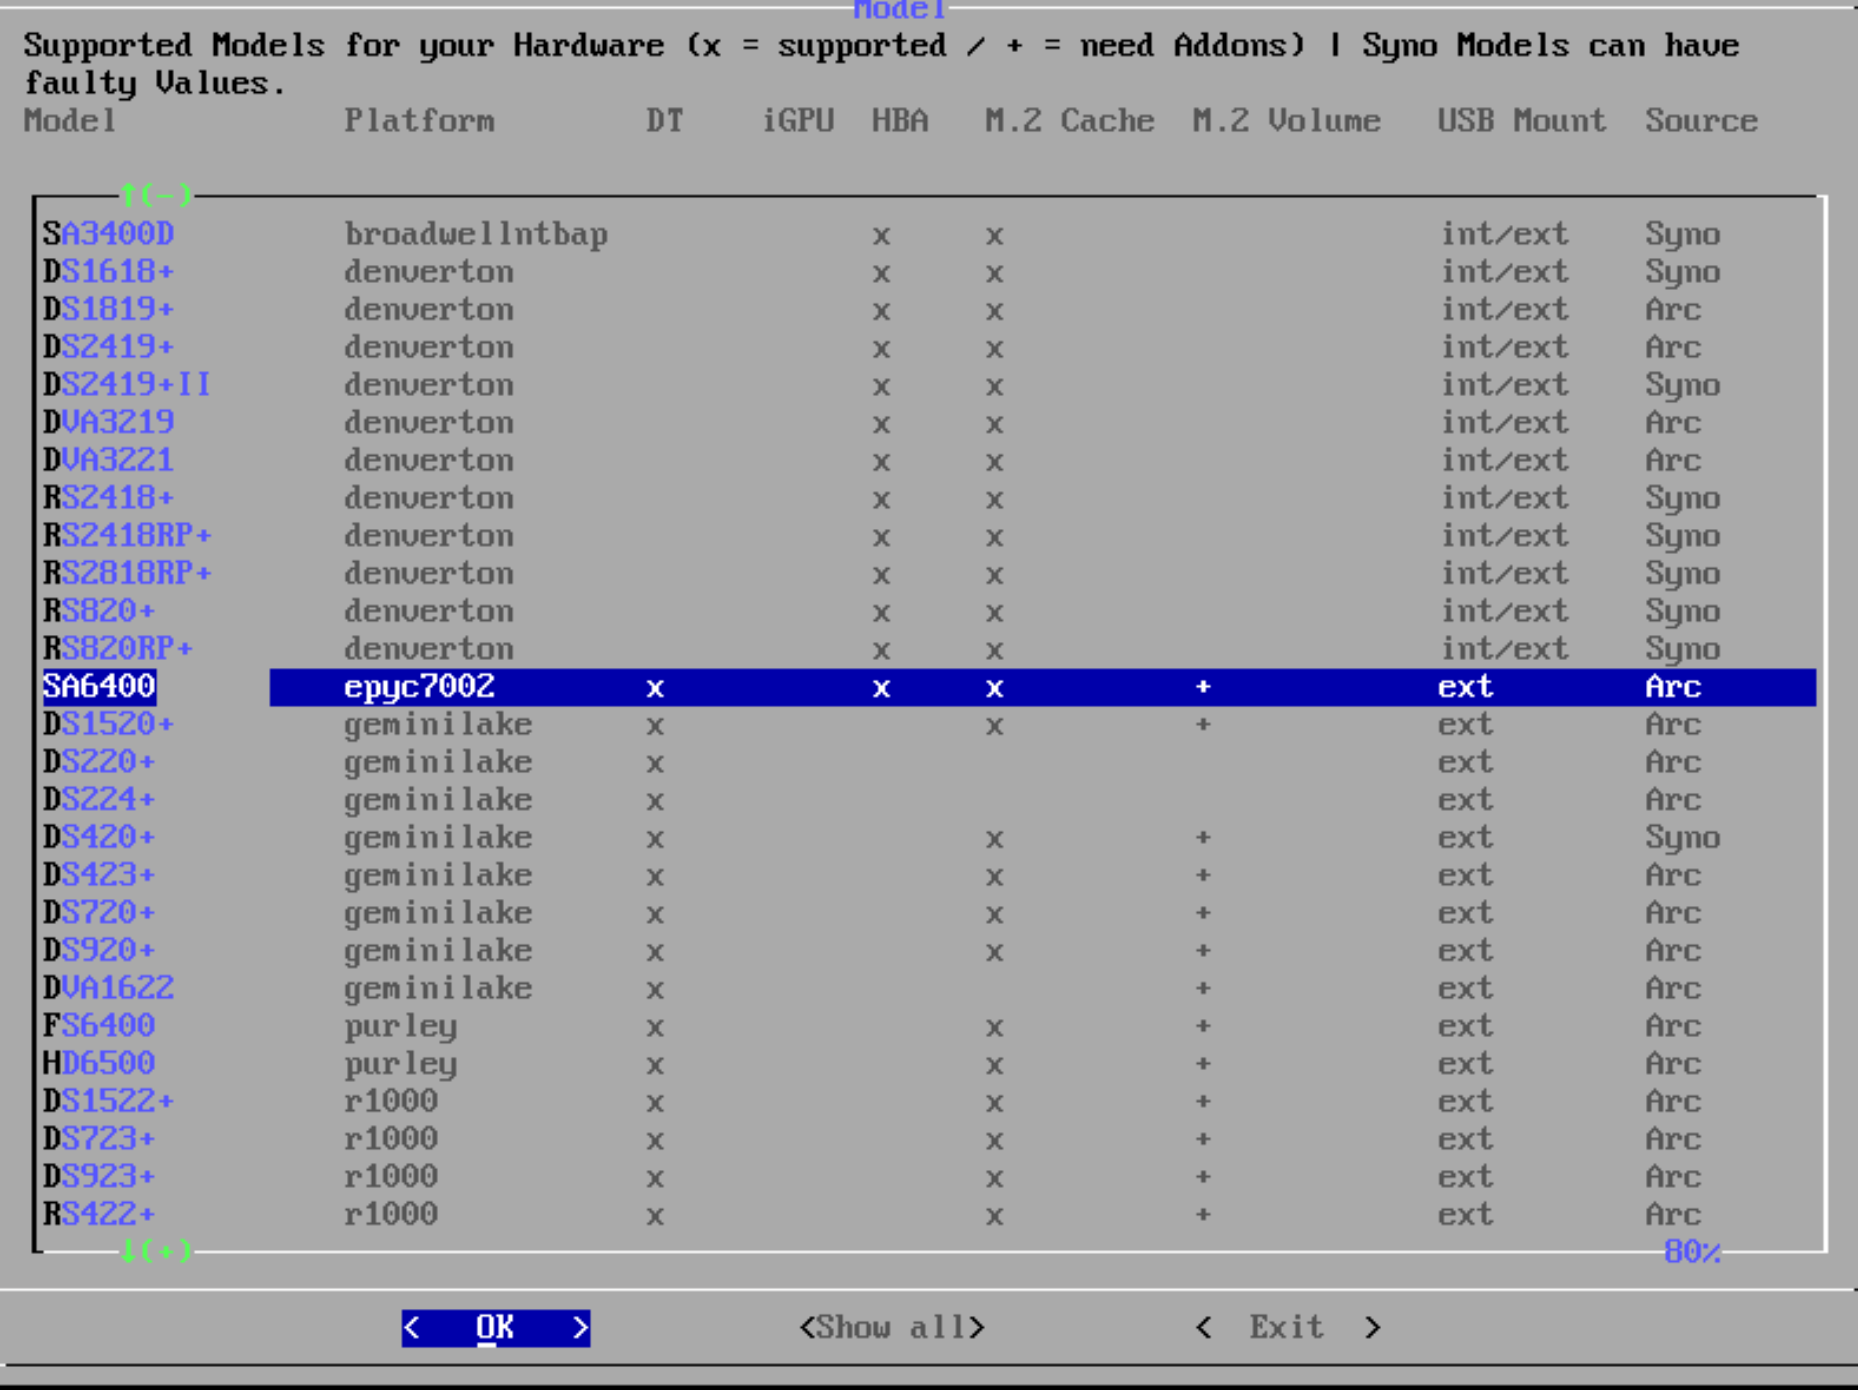
In our example, we'll choose the SA6400 model.
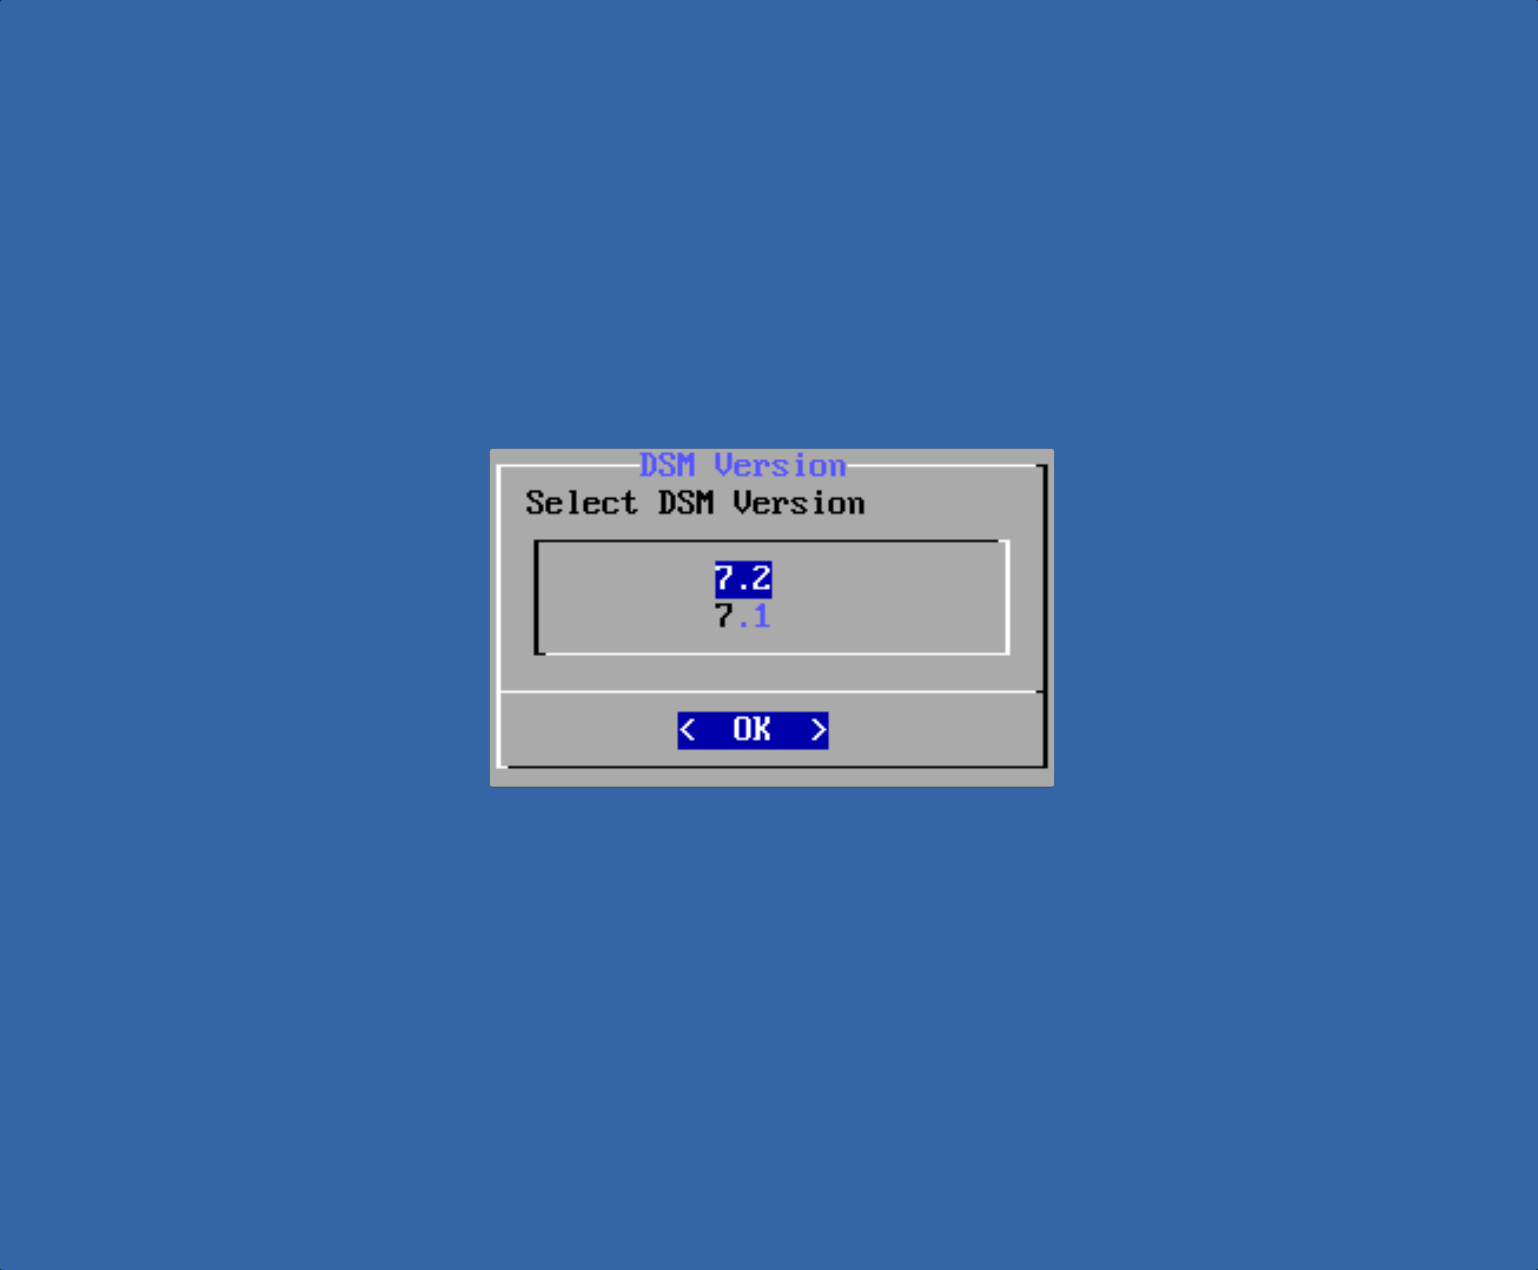
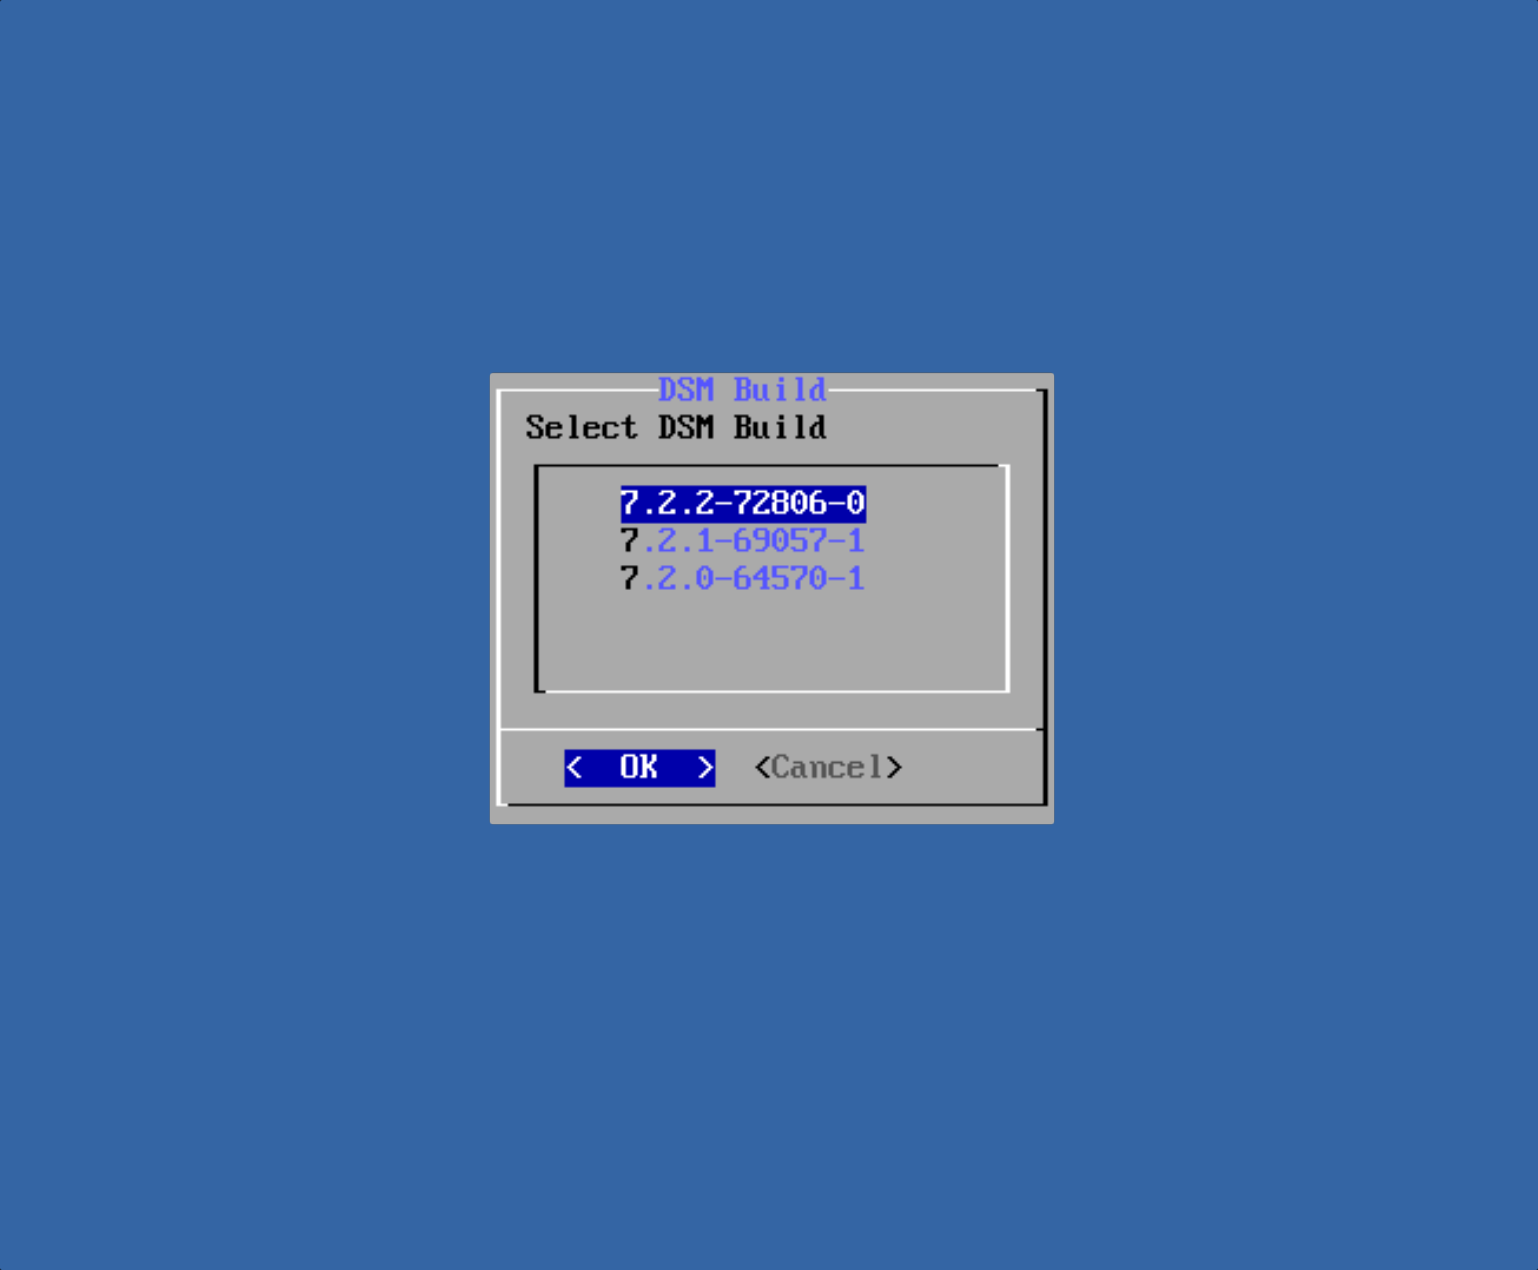
Select DSM Version
After selecting the model, you need to choose the DSM version you want to install.
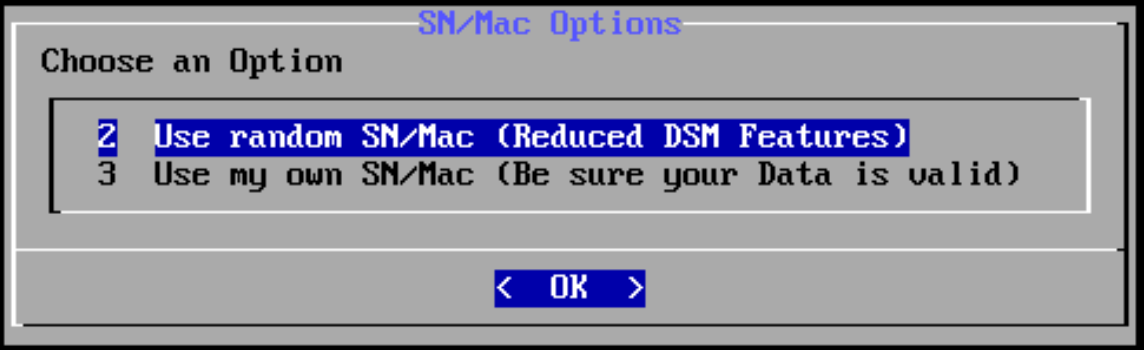
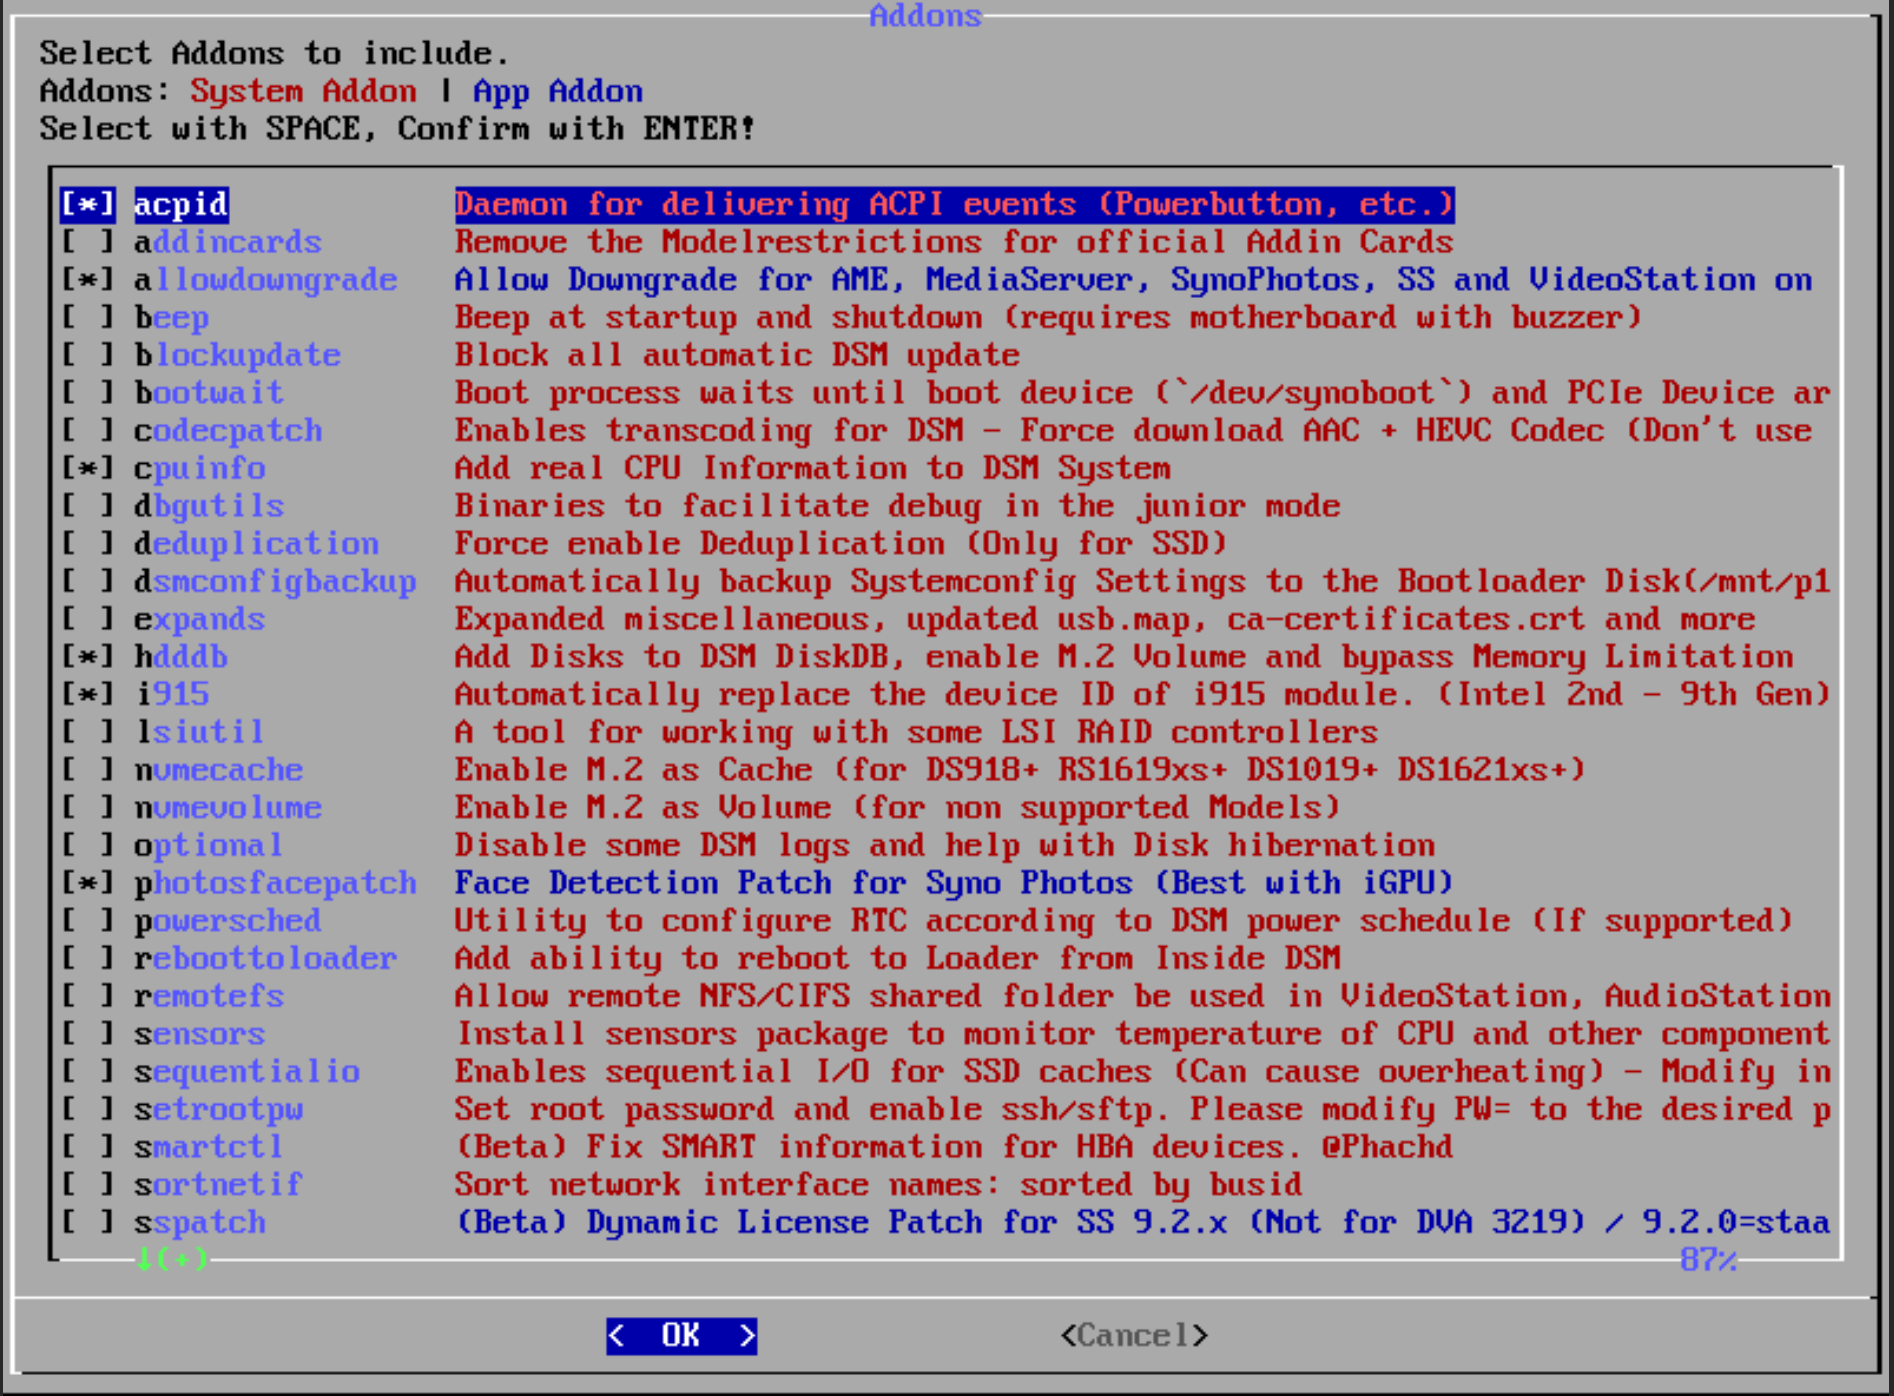
Select Addons
This step allows you to add additional features or custom configurations to the loader.
Arc gives you the option to configure automatically or manually adjust the settings. If automatic configuration is selected, the loader will start applying the necessary settings and will automatically reboot once the process is complete.
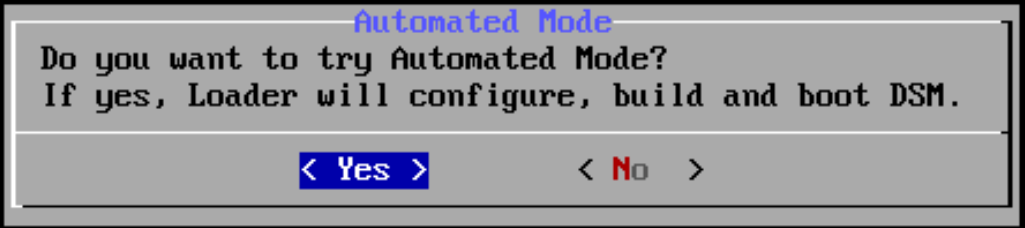
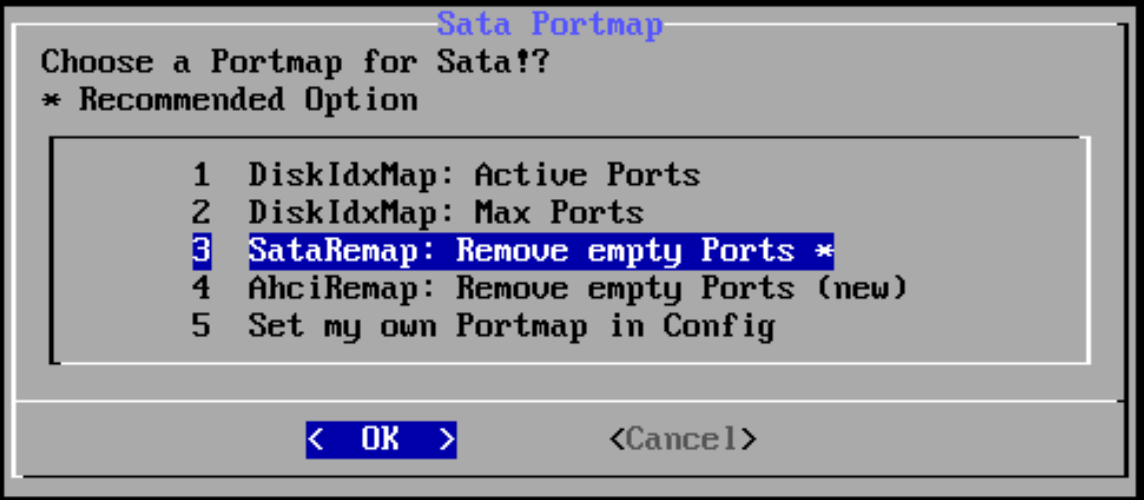
If we choose not to use automatic mode, we enter the menu to configure different options necessary for the loader:

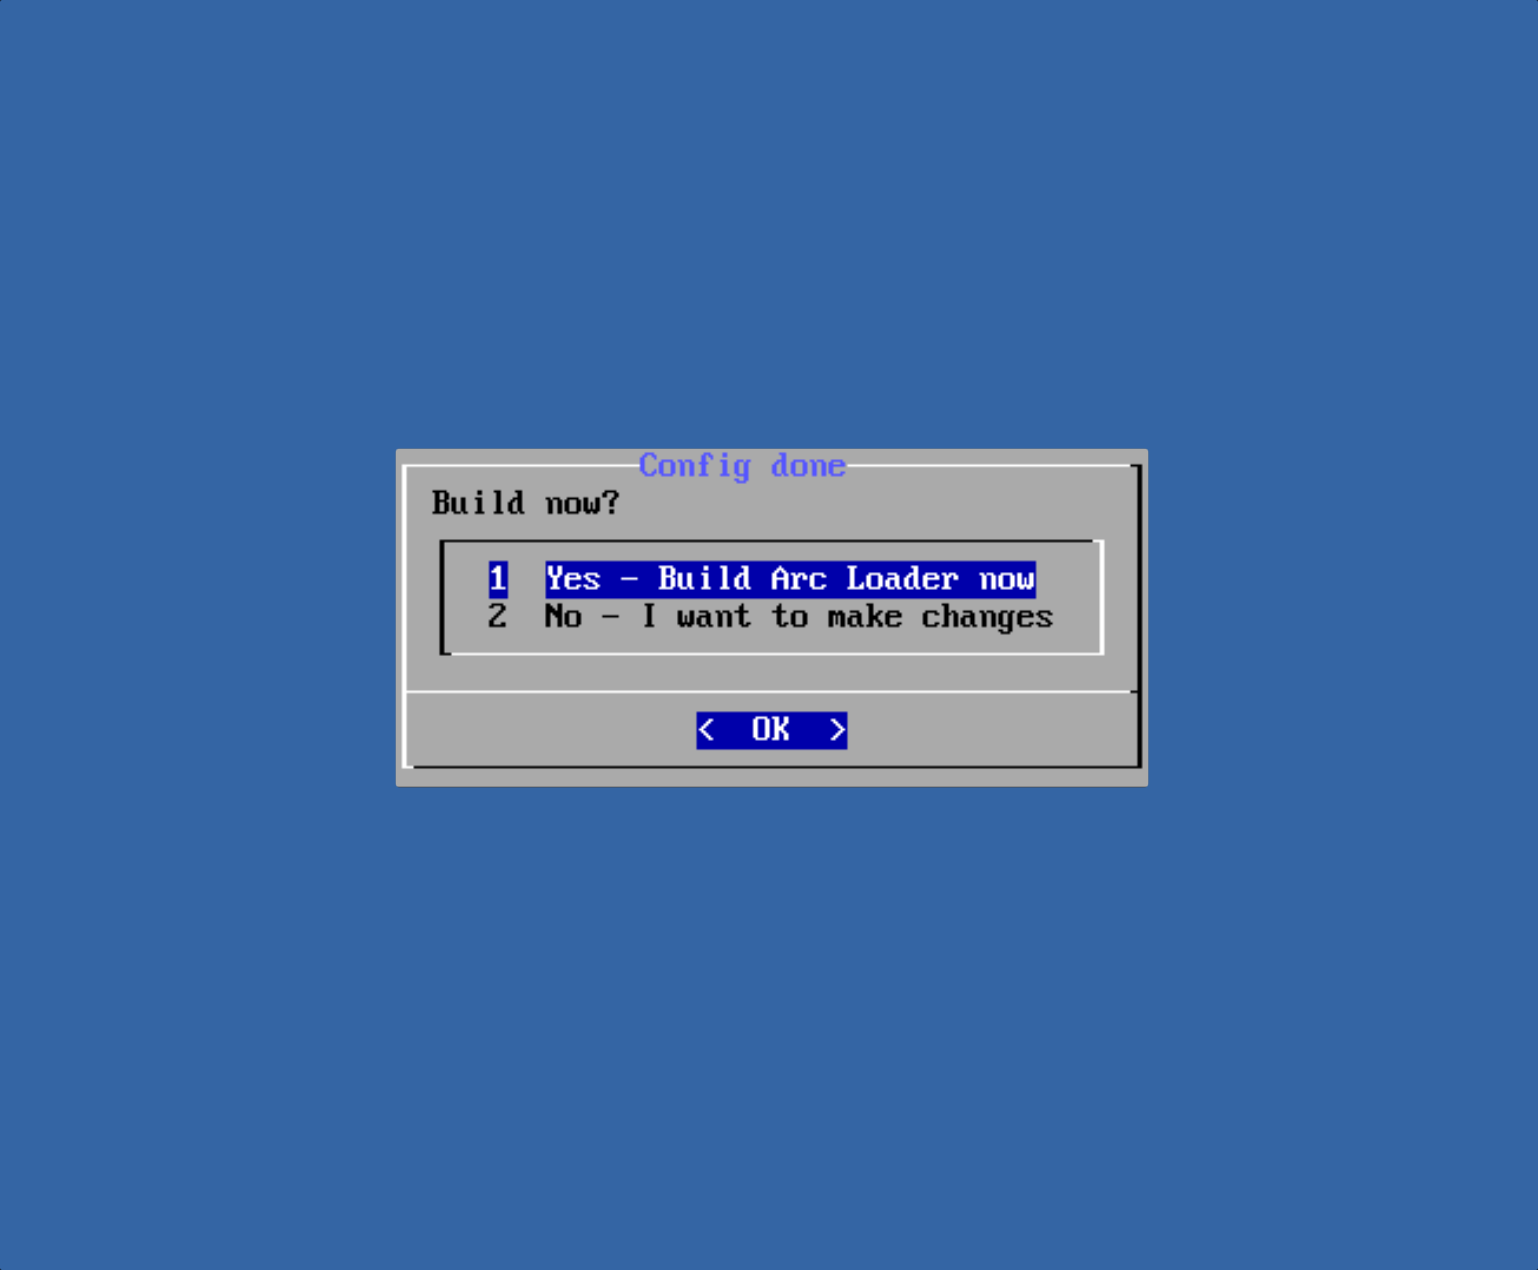
Build the Loader
Once you have selected the model, DSM version, and addons, proceed to build the loader. This process might take a few minutes depending on the loader and the selected configuration. To start, select the "Build the Loader" option.
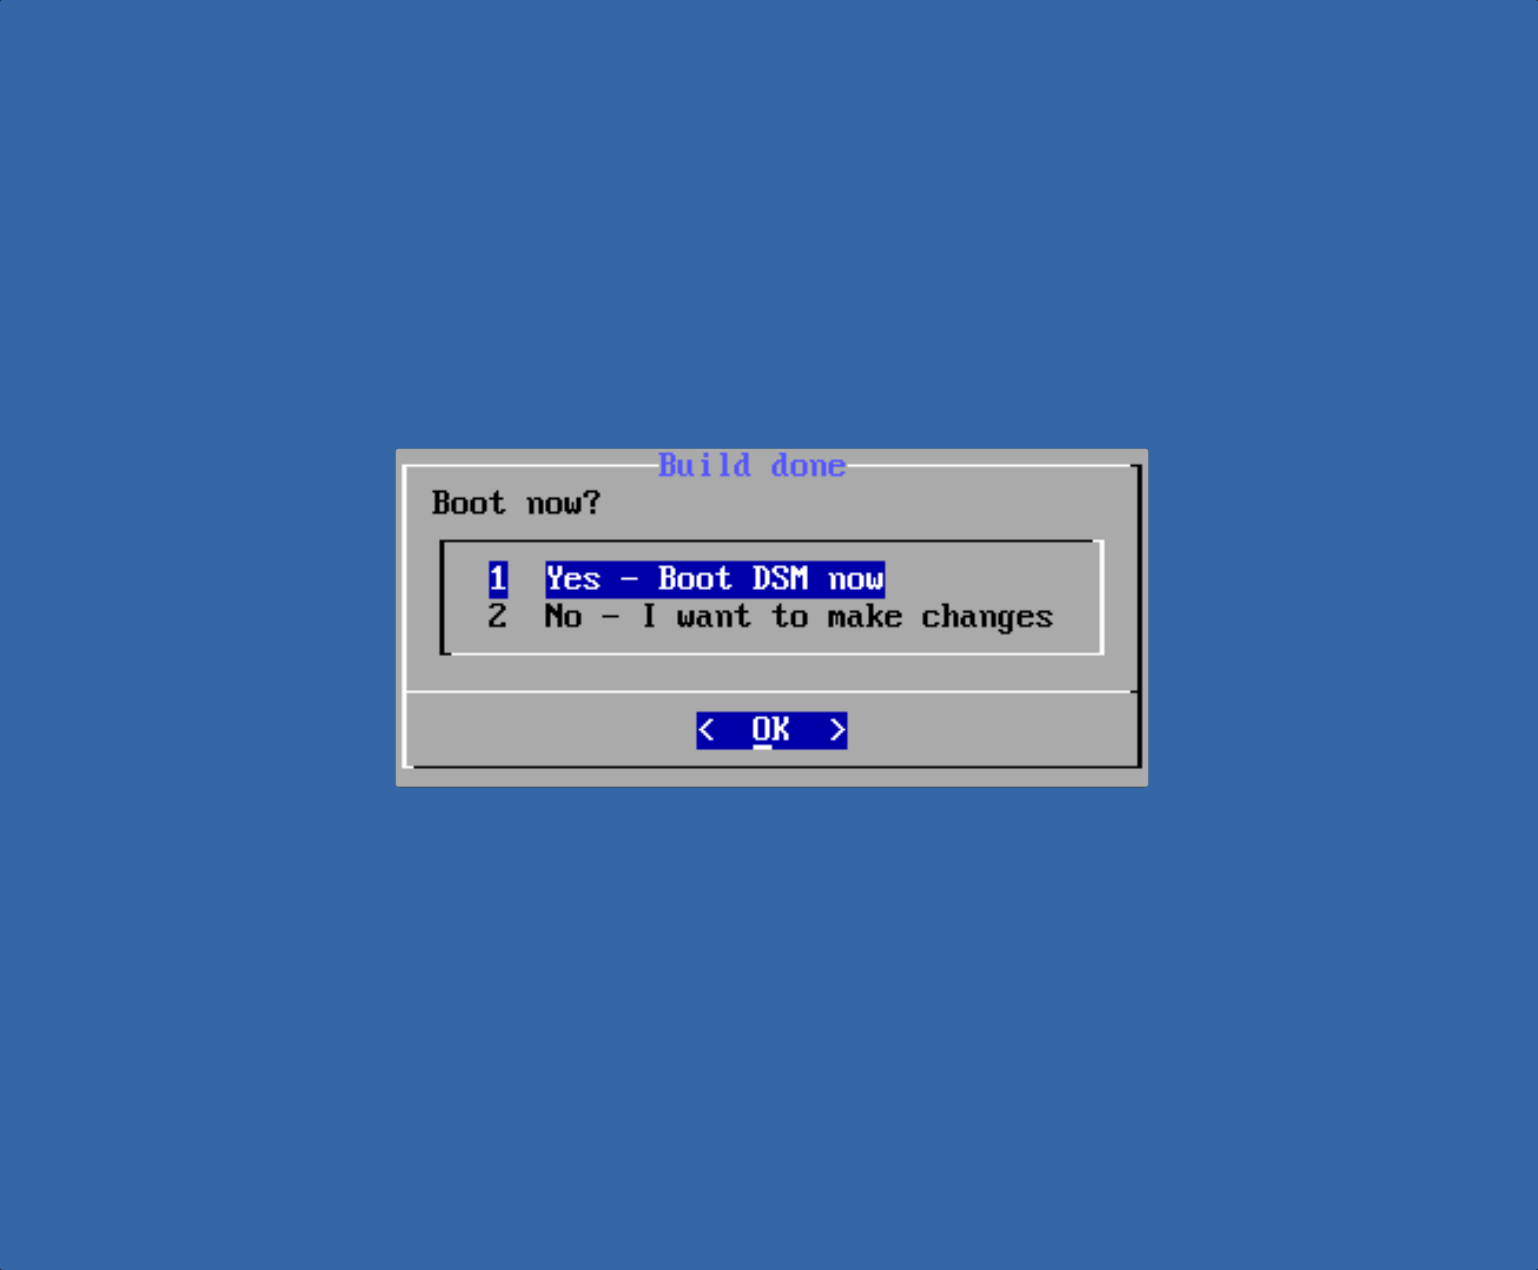
Boot the Loader
Once the loader has been built, it will prompt you to boot. The VM will restart with the configuration you've created and start the DSM installation.
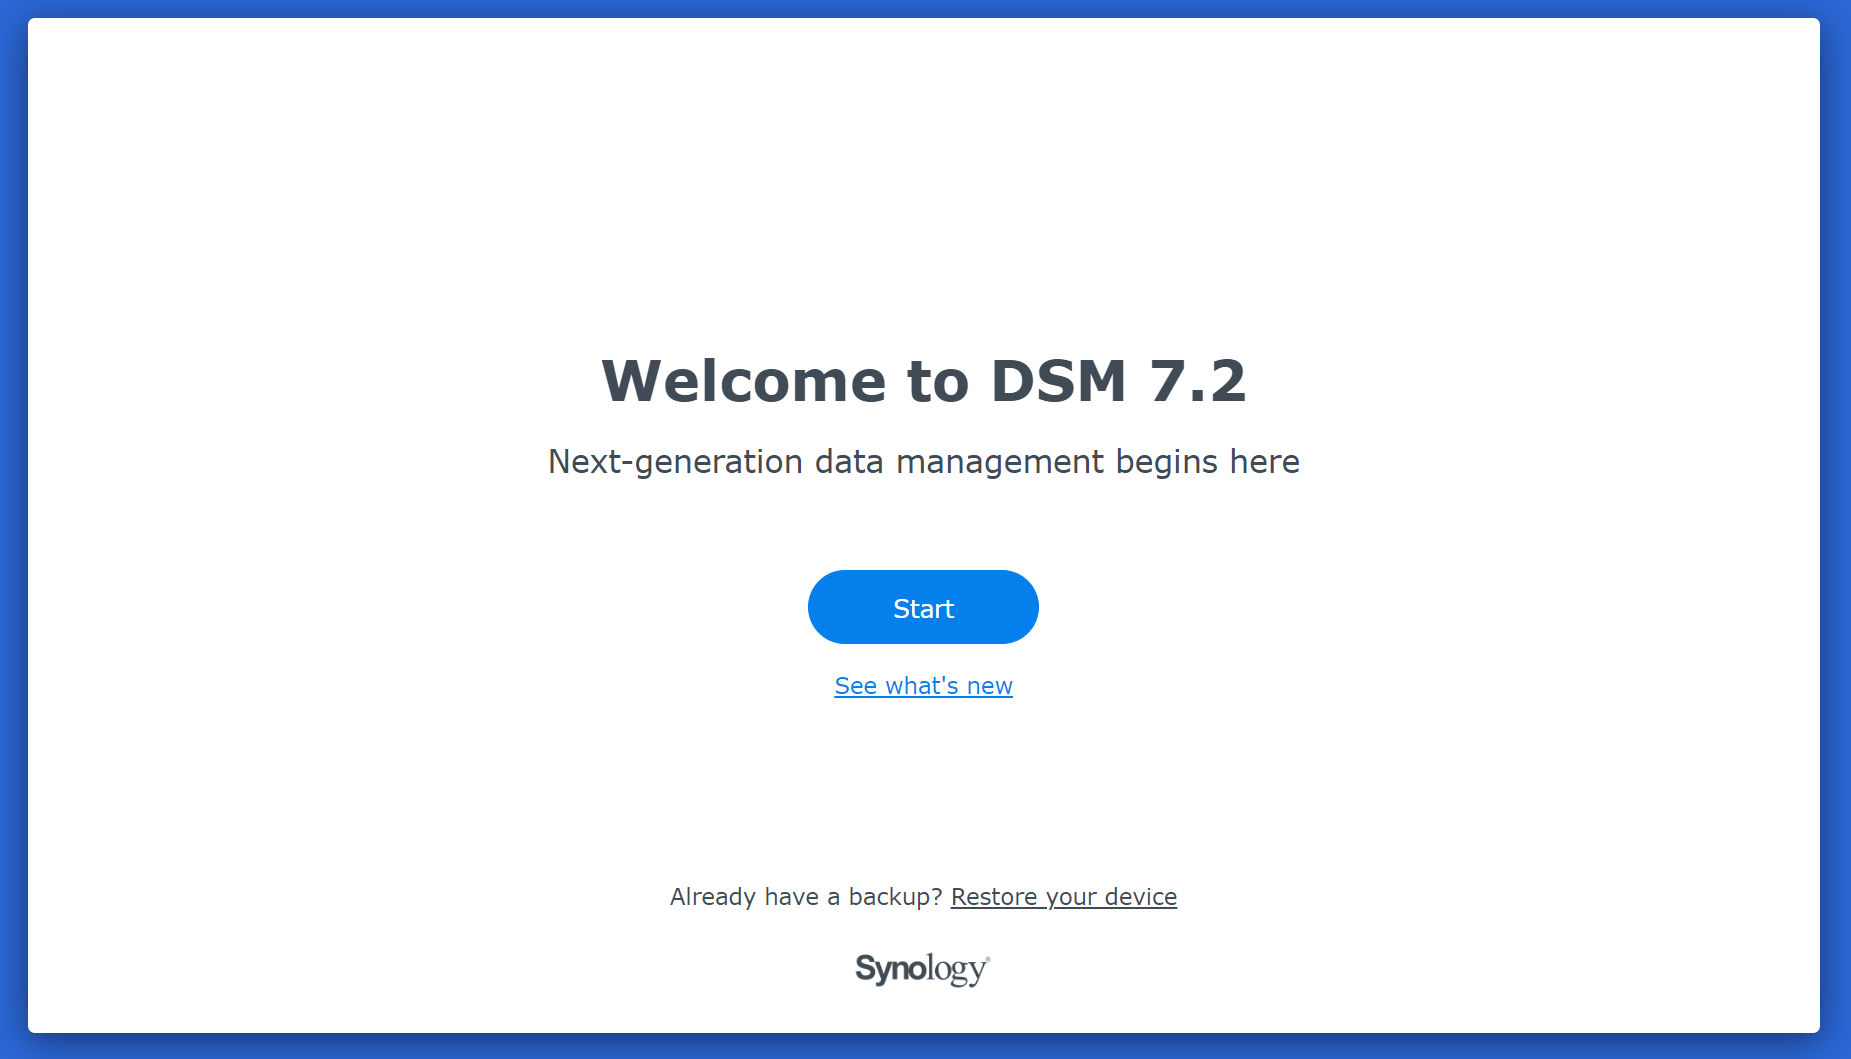
Starting the DSM Installation
Once the loader is booted, you can find your Synology device using:
https://finds.synology.comFollow the on-screen steps to complete the DSM installation.
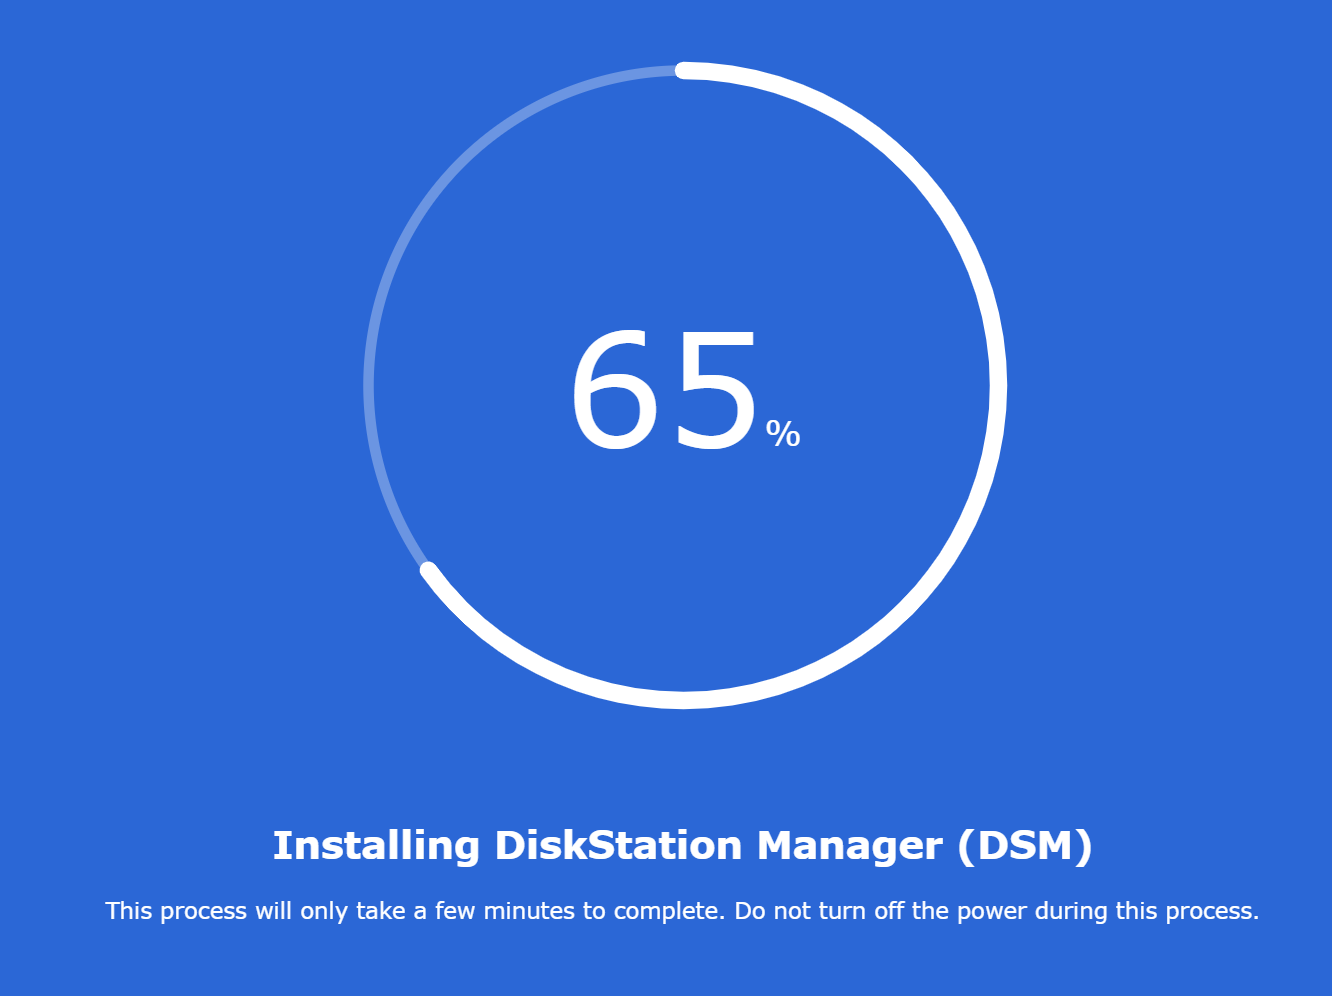
Please be patient – The process may take a few minutes to complete. The progress percentage will update automatically as the setup progresses. A countdown will start once the installation is nearing completion.
Tips
- Keep in mind that available options may change depending on the loader version and developer updates. If you encounter issues during the loader creation process, consult the loader documentation:
- Some older DSM models may have issues recognizing disks or the network card. It is recommended to use more recent models.
Update:
Some loaders offer the option to update the loader directly from the menu.
Important:
ProxMenux does not provide support for the different loaders.