Basic Settings
The Basic Settings category focuses on foundational configurations for your Proxmox VE installation, including installing essential utilities, adding repositories, managing packages, and keeping the system up to date.
Available Optimizations
1Select and Install System Utilities
This option presents a menu where you can select which system utilities to install based on your needs.
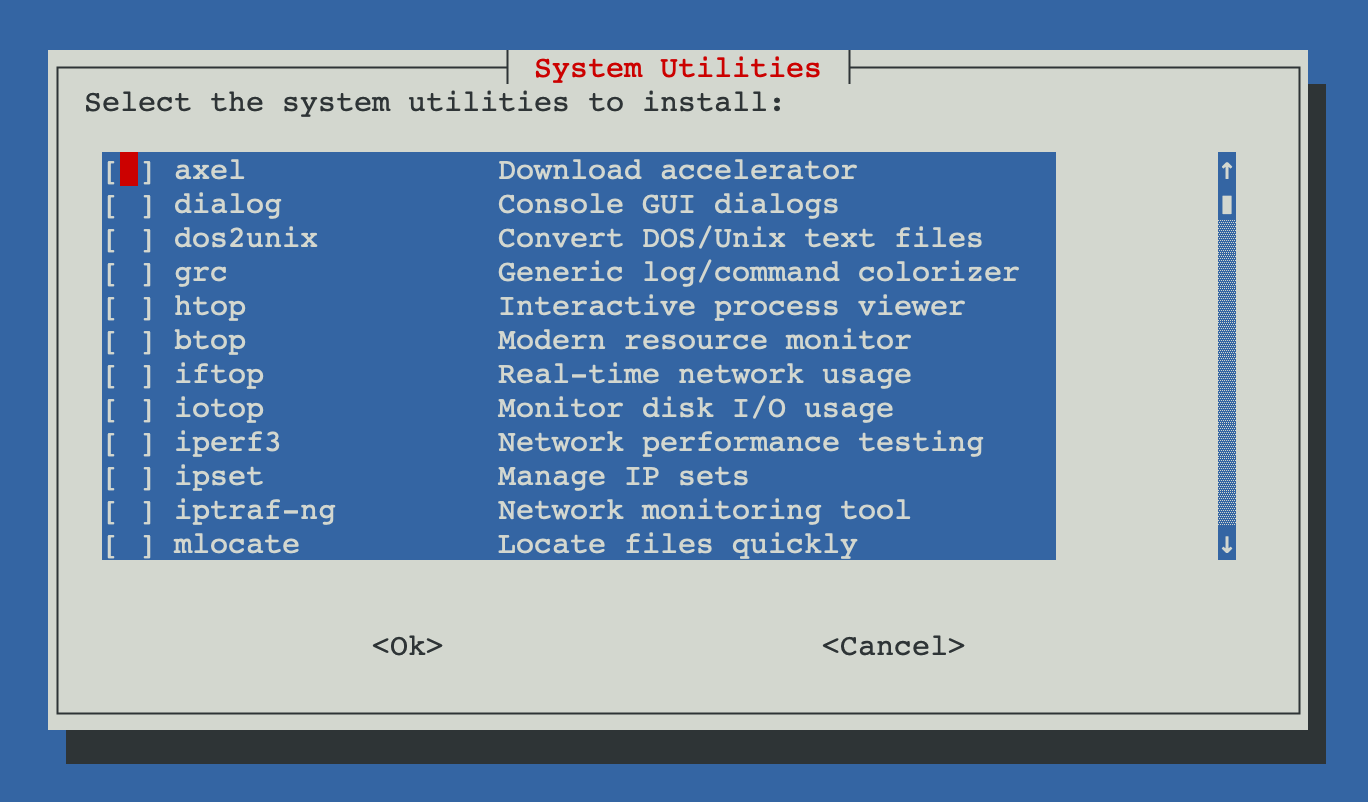
The utilities selection menu allows you to choose which tools to install
Available utilities:
- axel: A light command-line download accelerator
Example usage:
axel -n 10 http://example.com/largefile.zip - dialog: A tool for creating TUI interfaces
Example usage:
dialog --title "Hello" --msgbox "Hello, World!" 10 20
- dos2unix: Text file format converter to remove Windows-style line endings.
Example usage:
dos2unix file.txt - grc: Generic colouriser for everything
Example usage (colorize ping output):
grc ping example.com - htop: An interactive process viewer
To start htop, simply type:
htop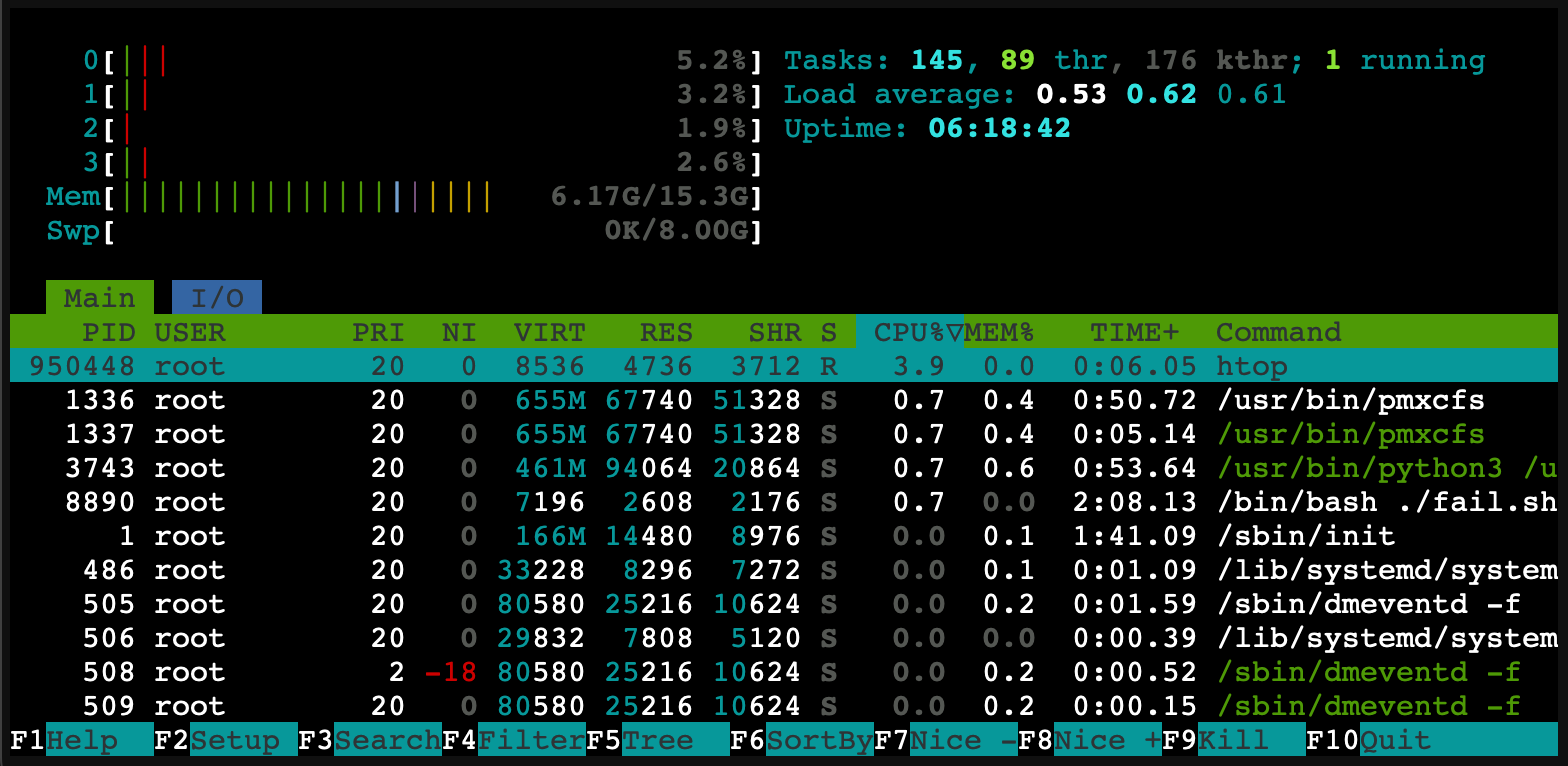
- btop: A resource monitor that shows usage and stats for processor, memory, disks, network and processes
To start btop, type:
btop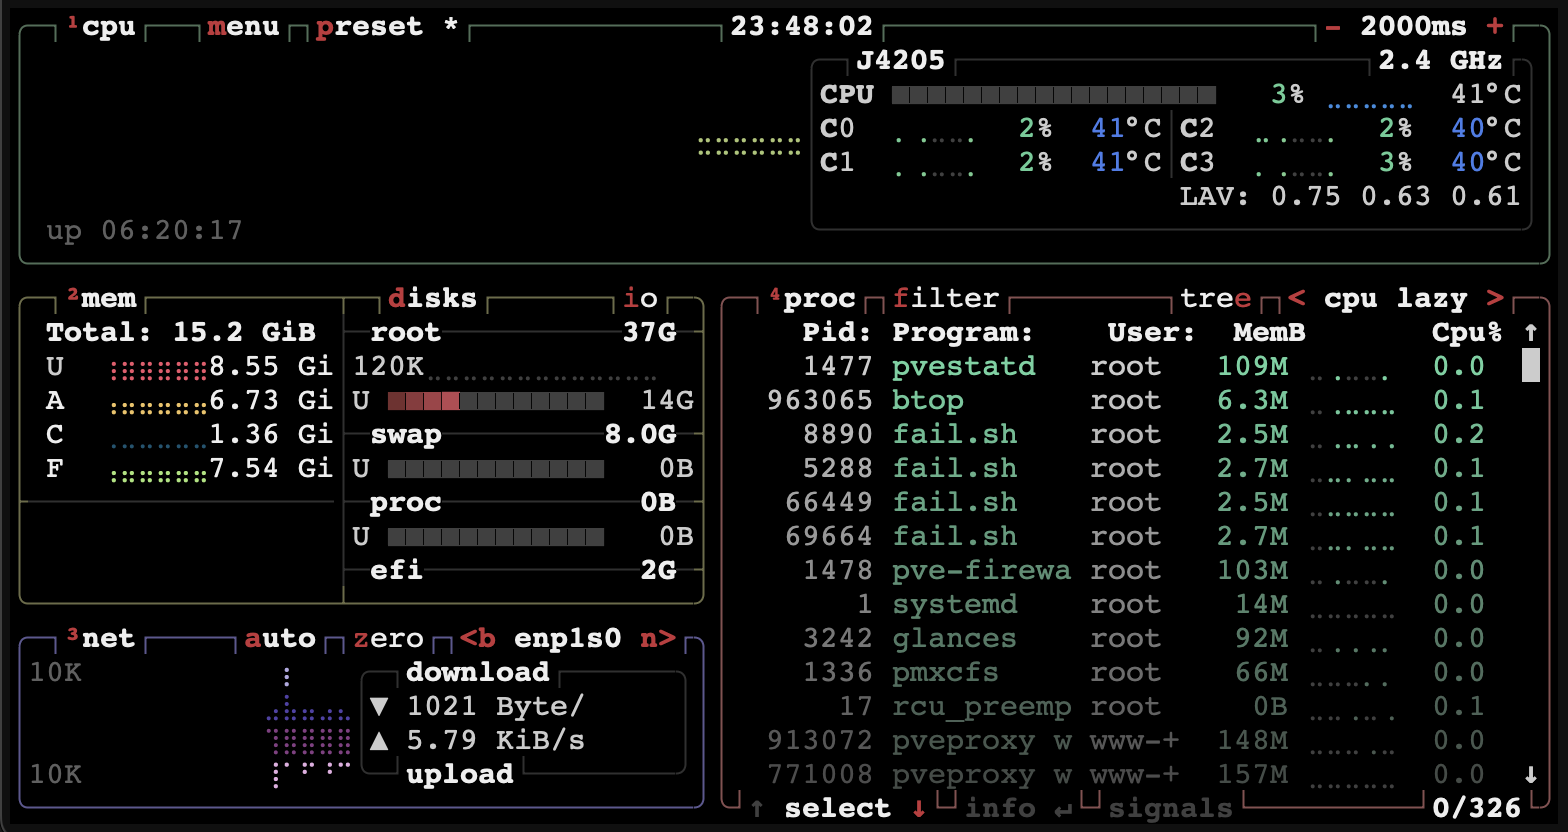
- iftop: A tool to display bandwidth usage on an interface
To start iftop (requires root):
iftop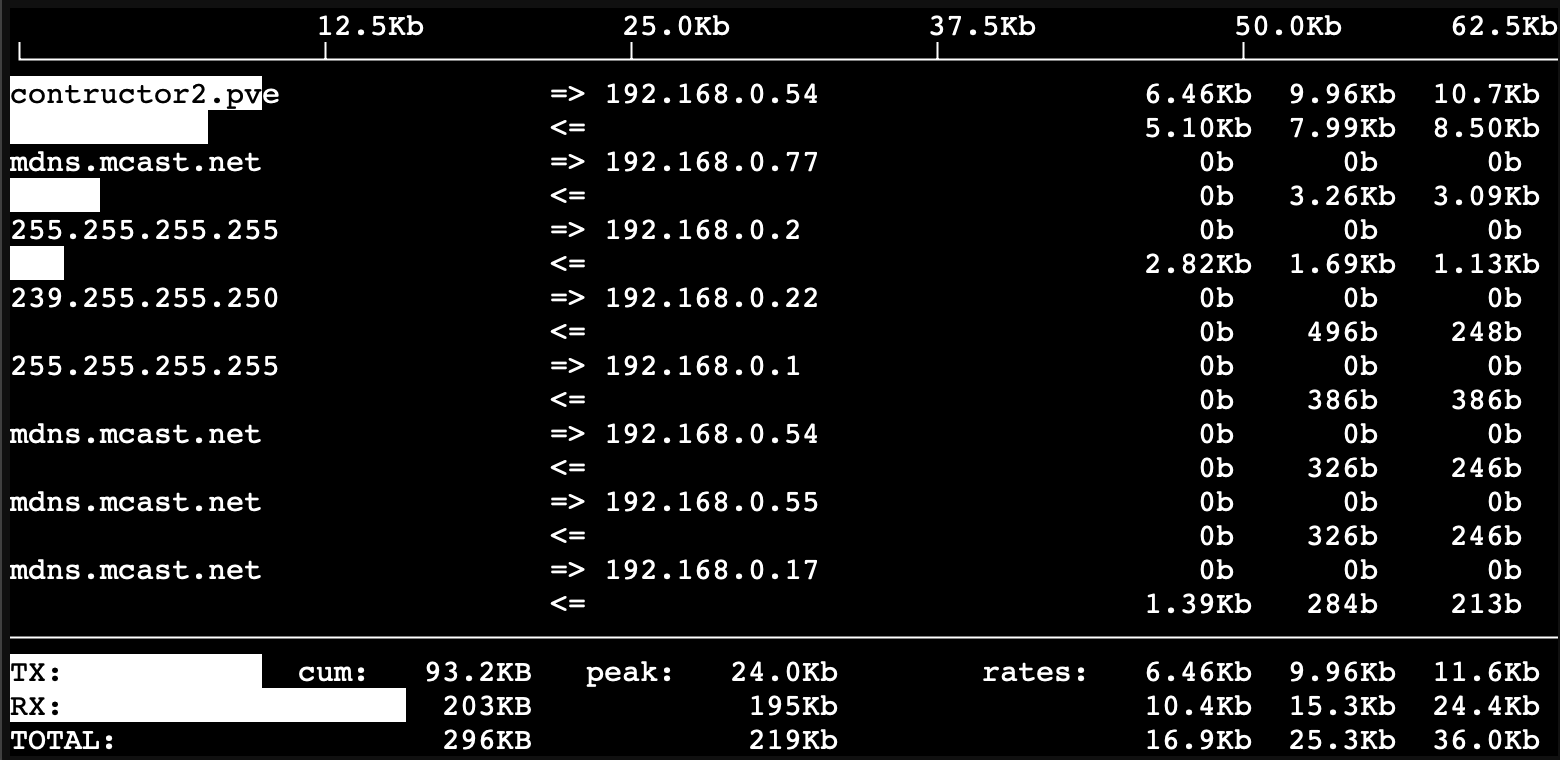
- iotop: A tool to display I/O usage by processes
To start iotop (requires root):
siotop
- iperf3: A tool for active measurements of the maximum achievable bandwidth on IP networks
Example usage (server mode):
iperf3 -sExample usage (client mode):
iperf3 -c server_ip - ipset: A tool to manage IP sets in the Linux kernel
Example usage (create a new set):
ipset create myset hash:ip - iptraf-ng: An interactive colorful IP LAN monitor
To start iptraf-ng:
iptraf-ng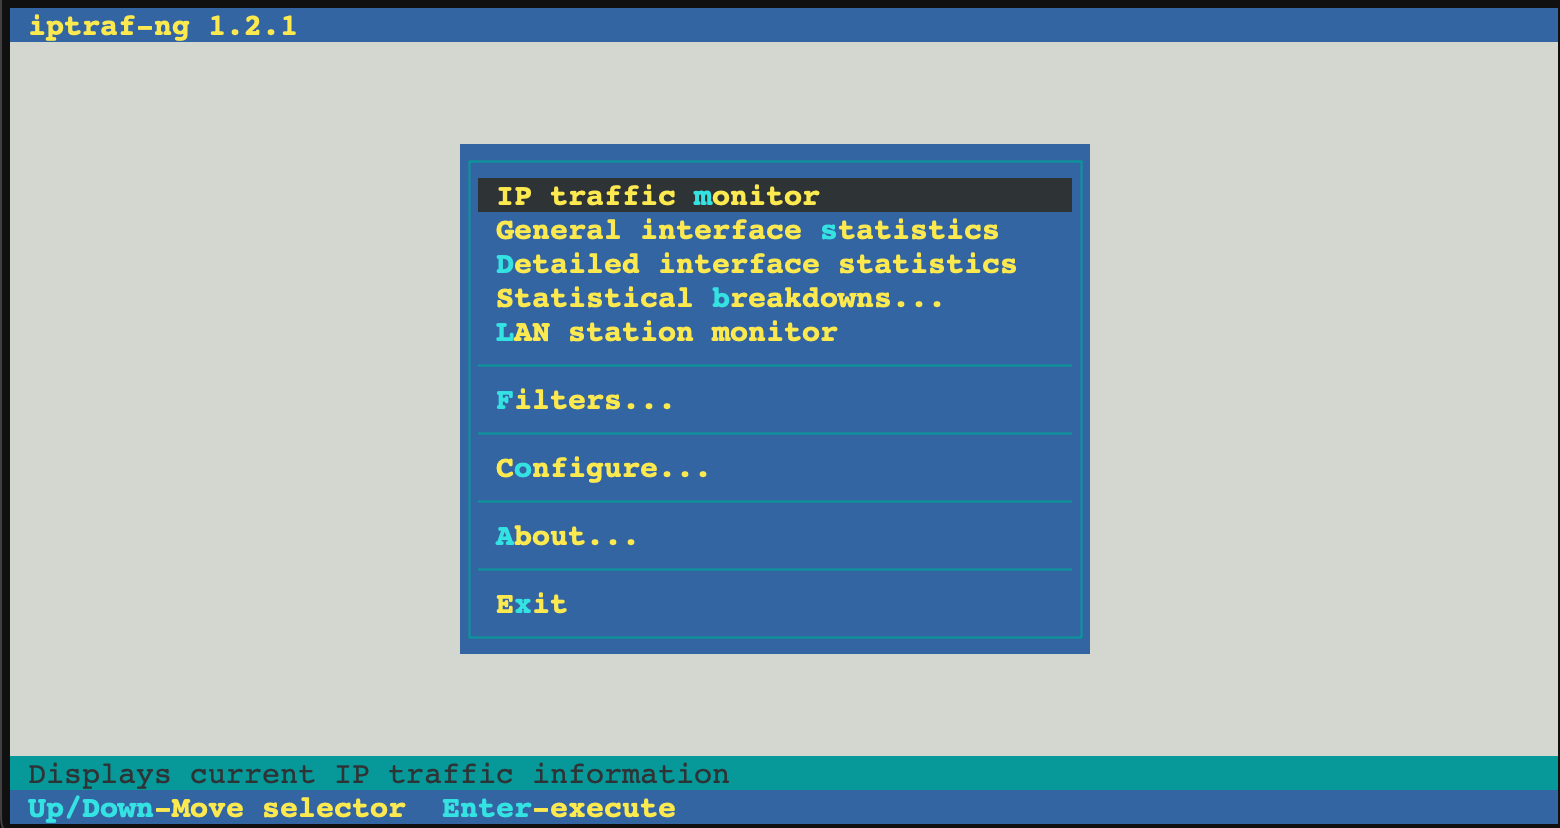
- mlocate: A tool to find files by name quickly
Example usage:
locate filename - msr-tools: Tools for accessing CPU model-specific registers
Example usage (read MSR):
rdmsr 0x1a0 - net-tools: A collection of programs that form the base set of the NET-3 networking distribution for the Linux operating system
Example usage (show network interfaces):
ifconfig - sshpass: A tool for non-interactive SSH password authentication.
Example usage:
sshpass -p 'password' ssh user@hostname - tmux: A terminal multiplexer that allows managing multiple sessions in a single terminal.
To start a new tmux session:
tmuxIn tmux, most commands are executed using Ctrl + b, followed by another key:
Action Shortcut Detach session (leave it running) Ctrl + b, then d List active sessions tmux ls Reattach a session tmux attach -t session_name Exit session exit or Ctrl + d 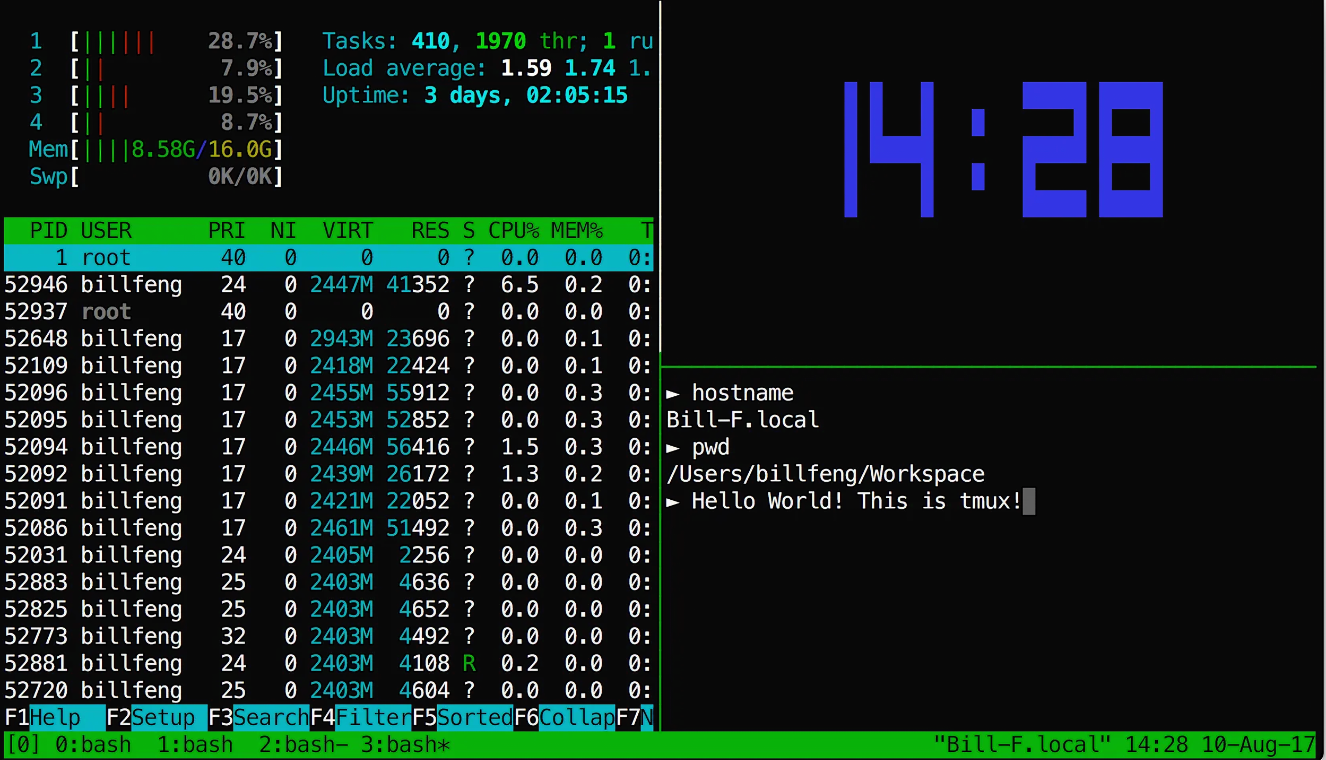
- unzip: A tool for extracting and viewing files in .zip archives
Example usage:
unzip file.zip - whois: A client for the whois directory service
Example usage:
whois example.com - zip: A compression and file packaging utility
Example usage:
zip archive.zip file1 file2 file3 - libguestfs-tools: A set of tools for accessing and modifying virtual machine disk images.
Example usage (list files in a VM disk image):
guestfish -a disk.img -m /dev/sda1 ls /
This option automatically installs these utilities by running this command:
# Update package lists
sudo apt-get update

# Install common system utilities
sudo apt-get install -y axel dialog dos2unix grc htop btop iftop iotop iperf3 ipset iptraf-ng mlocate msr-tools net-tools omping sshpass tmux unzip zip libguestfs-tools
2Skip Downloading Additional Languages
This optimization configures APT to skip downloading additional language packages, which can save disk space and speed up package operations.
Why it's beneficial:By skipping unnecessary language packages, you can reduce disk usage and improve the speed of package management operations. This is particularly useful in server environments where multiple language support is often not required.
This adjustment automates the following command:
# Configure APT to skip downloading additional languages
echo 'Acquire::Languages "none";' | sudo tee /etc/apt/apt.conf.d/99-disable-translations
3Synchronize Time Automatically
This optimization configures the system to automatically synchronize its time, ensuring accurate timekeeping.
Why it's beneficial:Accurate timekeeping is crucial for many system operations, log consistency, and proper functioning of time-sensitive applications. Automatic synchronization ensures your Proxmox VE system maintains the correct time without manual intervention.
This adjustment automates the following command:
# Note: To set timezone automatically based on IP, you can use:
IP=$(dig +short myip.opendns.com @resolver1.opendns.com)
TIMEZONE=$(curl -s "https://ipapi.co/$IP/timezone")
sudo timedatectl set-timezone "$TIMEZONE"
4Update and Upgrade System
This optimization updates the system's package lists, upgrades installed packages, and configures Proxmox repositories. It also includes additional steps to properly set up Debian repositories, disable certain warnings, and perform safety checks after the update process.
Why it's beneficial:Keeping your system up-to-date is essential for security, stability, and performance. This optimization ensures you have the latest patches and features, while also configuring the correct repositories for Proxmox VE, enabling access to necessary updates and tools. The disk metadata check helps prevent potential issues with storage devices that may have been modified by virtual machines.
Repository changes:
- Disabled: Enterprise Proxmox repository (pve-enterprise.list) - This repository is for users with a paid subscription.
- Disabled: Enterprise Proxmox Ceph repository (ceph.list) - This repository is for enterprise Ceph storage solutions.
- Added: Free public Proxmox repository (pve-public-repo.list) - This provides access to free Proxmox VE updates and packages.
- Configured: Main Debian repositories - These provide access to the core Debian packages and security updates.
This adjustment automates the following command:
# Disable enterprise Proxmox repository
if [ -f /etc/apt/sources.list.d/pve-enterprise.list ]; then
  sudo sed -i 's/^deb/#deb/g' /etc/apt/sources.list.d/pve-enterprise.list
fi

# Disable enterprise Proxmox Ceph repository
if [ -f /etc/apt/sources.list.d/ceph.list ]; then
  sudo sed -i 's/^deb/#deb/g' /etc/apt/sources.list.d/ceph.list
fi

# Enable free public Proxmox repository
echo "deb http://download.proxmox.com/debian/pve $(lsb_release -cs) pve-no-subscription" | sudo tee /etc/apt/sources.list.d/pve-public-repo.list


# Configure main Debian repositories
cat <<EOF | sudo tee /etc/apt/sources.list
deb http://deb.debian.org/debian $(lsb_release -cs) main contrib non-free non-free-firmware
deb http://deb.debian.org/debian $(lsb_release -cs)-updates main contrib non-free non-free-firmware
deb http://security.debian.org/debian-security $(lsb_release -cs)-security main contrib non-free non-free-firmware
EOF

# Disable non-free firmware warnings
echo 'APT::Get::Update::SourceListWarnings::NonFreeFirmware "false";' | sudo tee /etc/apt/apt.conf.d/no-bookworm-firmware.conf

# Update and upgrade
sudo apt-get update
sudo apt-get dist-upgrade -y

# Update PVE application manager
pveam update

# Install additional packages
sudo apt-get install -y zfsutils-linux proxmox-backup-restore-image chrony
Post-Update Safety Check
After updating the system, the script performs an important safety check to detect disks with old PV (Physical Volume) headers that might have been modified by virtual machines.
Why this matters: When VMs have direct access to disks through passthrough, they can sometimes modify the disk metadata. This can cause issues with storage management on the host system, potentially leading to data access problems or errors when using LVM (Logical Volume Manager).
If any issues are detected, the script will display a warning message and suggest running the pvs command to identify the affected disks. This early detection helps prevent potential storage problems before they impact your system.