Add a USB hard drive to an LXC in Proxmox, set up Samba for network sharing, and utilize the added storage for various purposes.
Sometimes, it can be useful to add a hard drive or USB memory to our Proxmox setup, especially if we have a mini PC with limited expansion possibilities.
We'll see how to add a USB hard drive to an LXC where we'll use it and also share its content via Samba.
There can be various uses, such as:
We will:
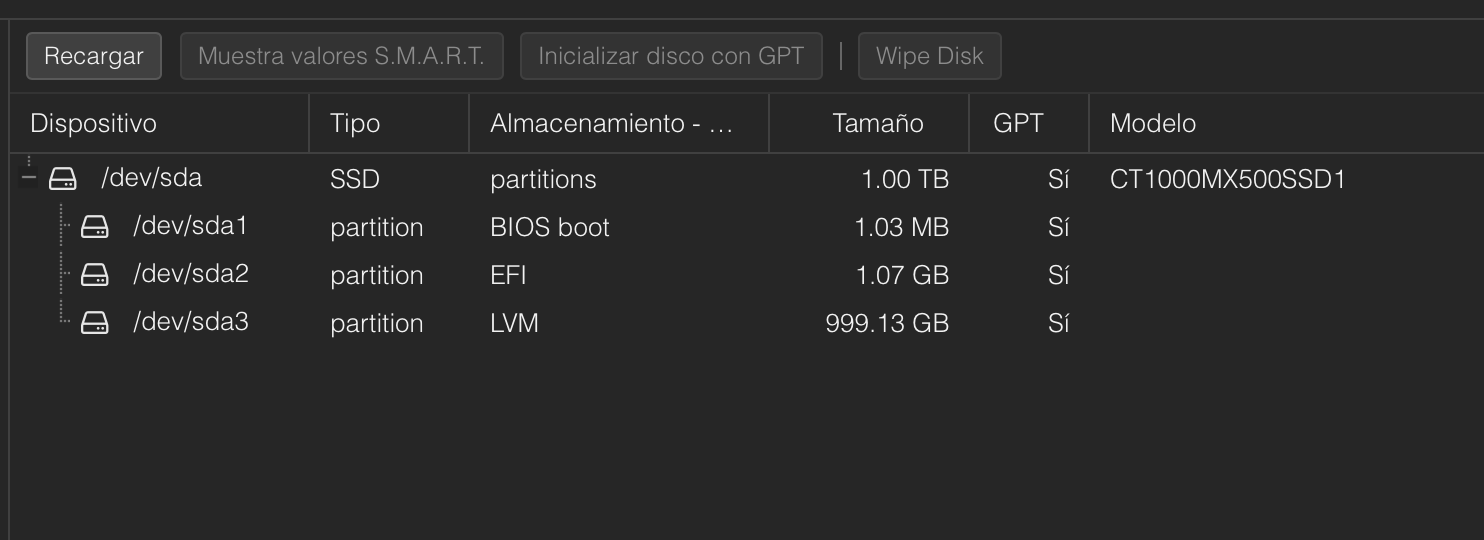
To do this, it's as simple as looking at the disk section we have on our server before and after connecting the USB disk.
Before adding our disk:
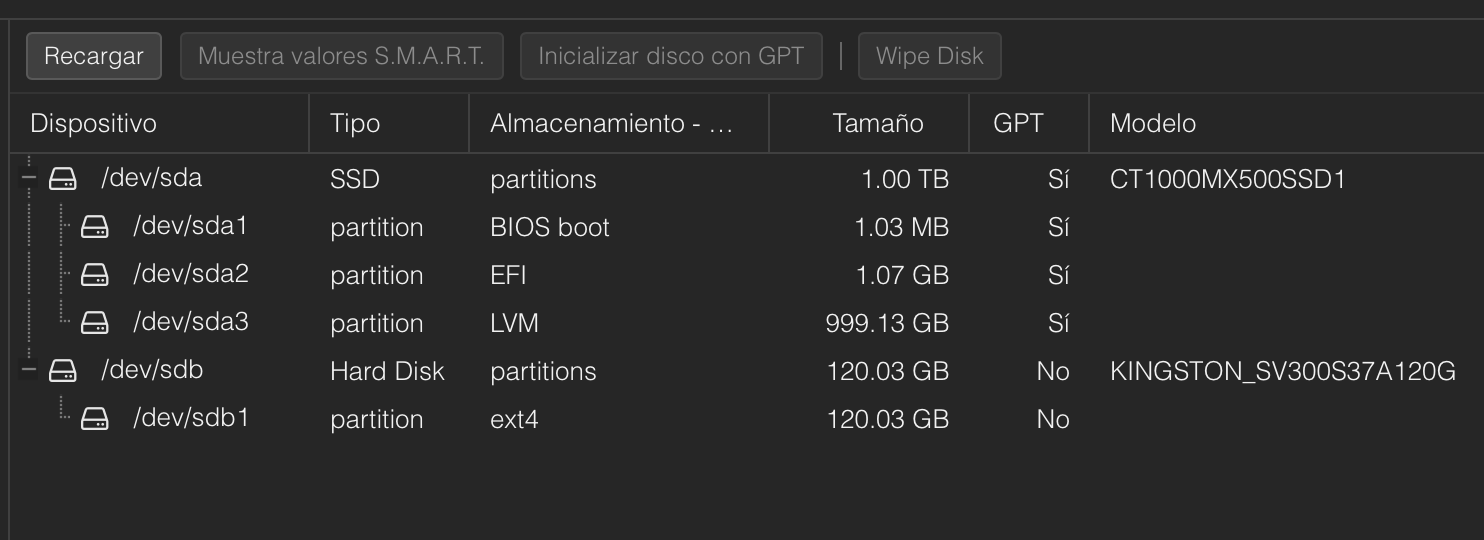
After adding our USB disk:
For us to use it, we have to format it in a compatible file system, for example ext4 in the case of a hard drive. We do this from the Proxmox console:
We can name the directory whatever we want:
To do this, we go to the Proxmox console (not in the LXC), and edit the LXC's configuration file. Change the id (100) to the corresponding one for your LXC:
Add this line to the file:
Start the LXC, log in, and give permissions to the mount directory:
Now that we have our disk mounted, let's install Samba to share it over the network.
Confirm the service is running:
Create a new user with the name we want, add a password for the user and confirm everything:
Now let's add the new user to Samba:
Set the permissions for the proxmenux user to the path where we mounted the disk:
Edit the smb.conf file to share the disk directory:
At the end of the file add:
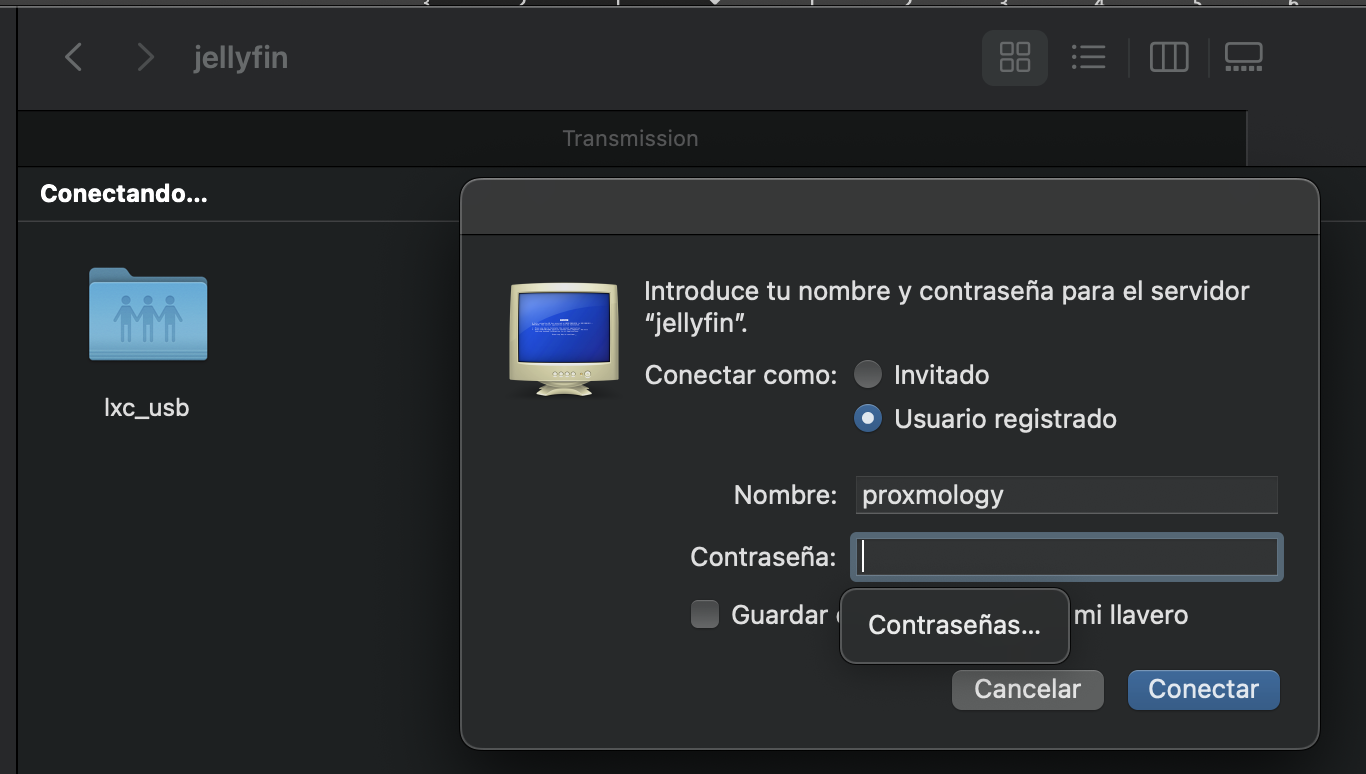
We now have our Samba server installed and our USB drive shared. Let's verify that we can access it:

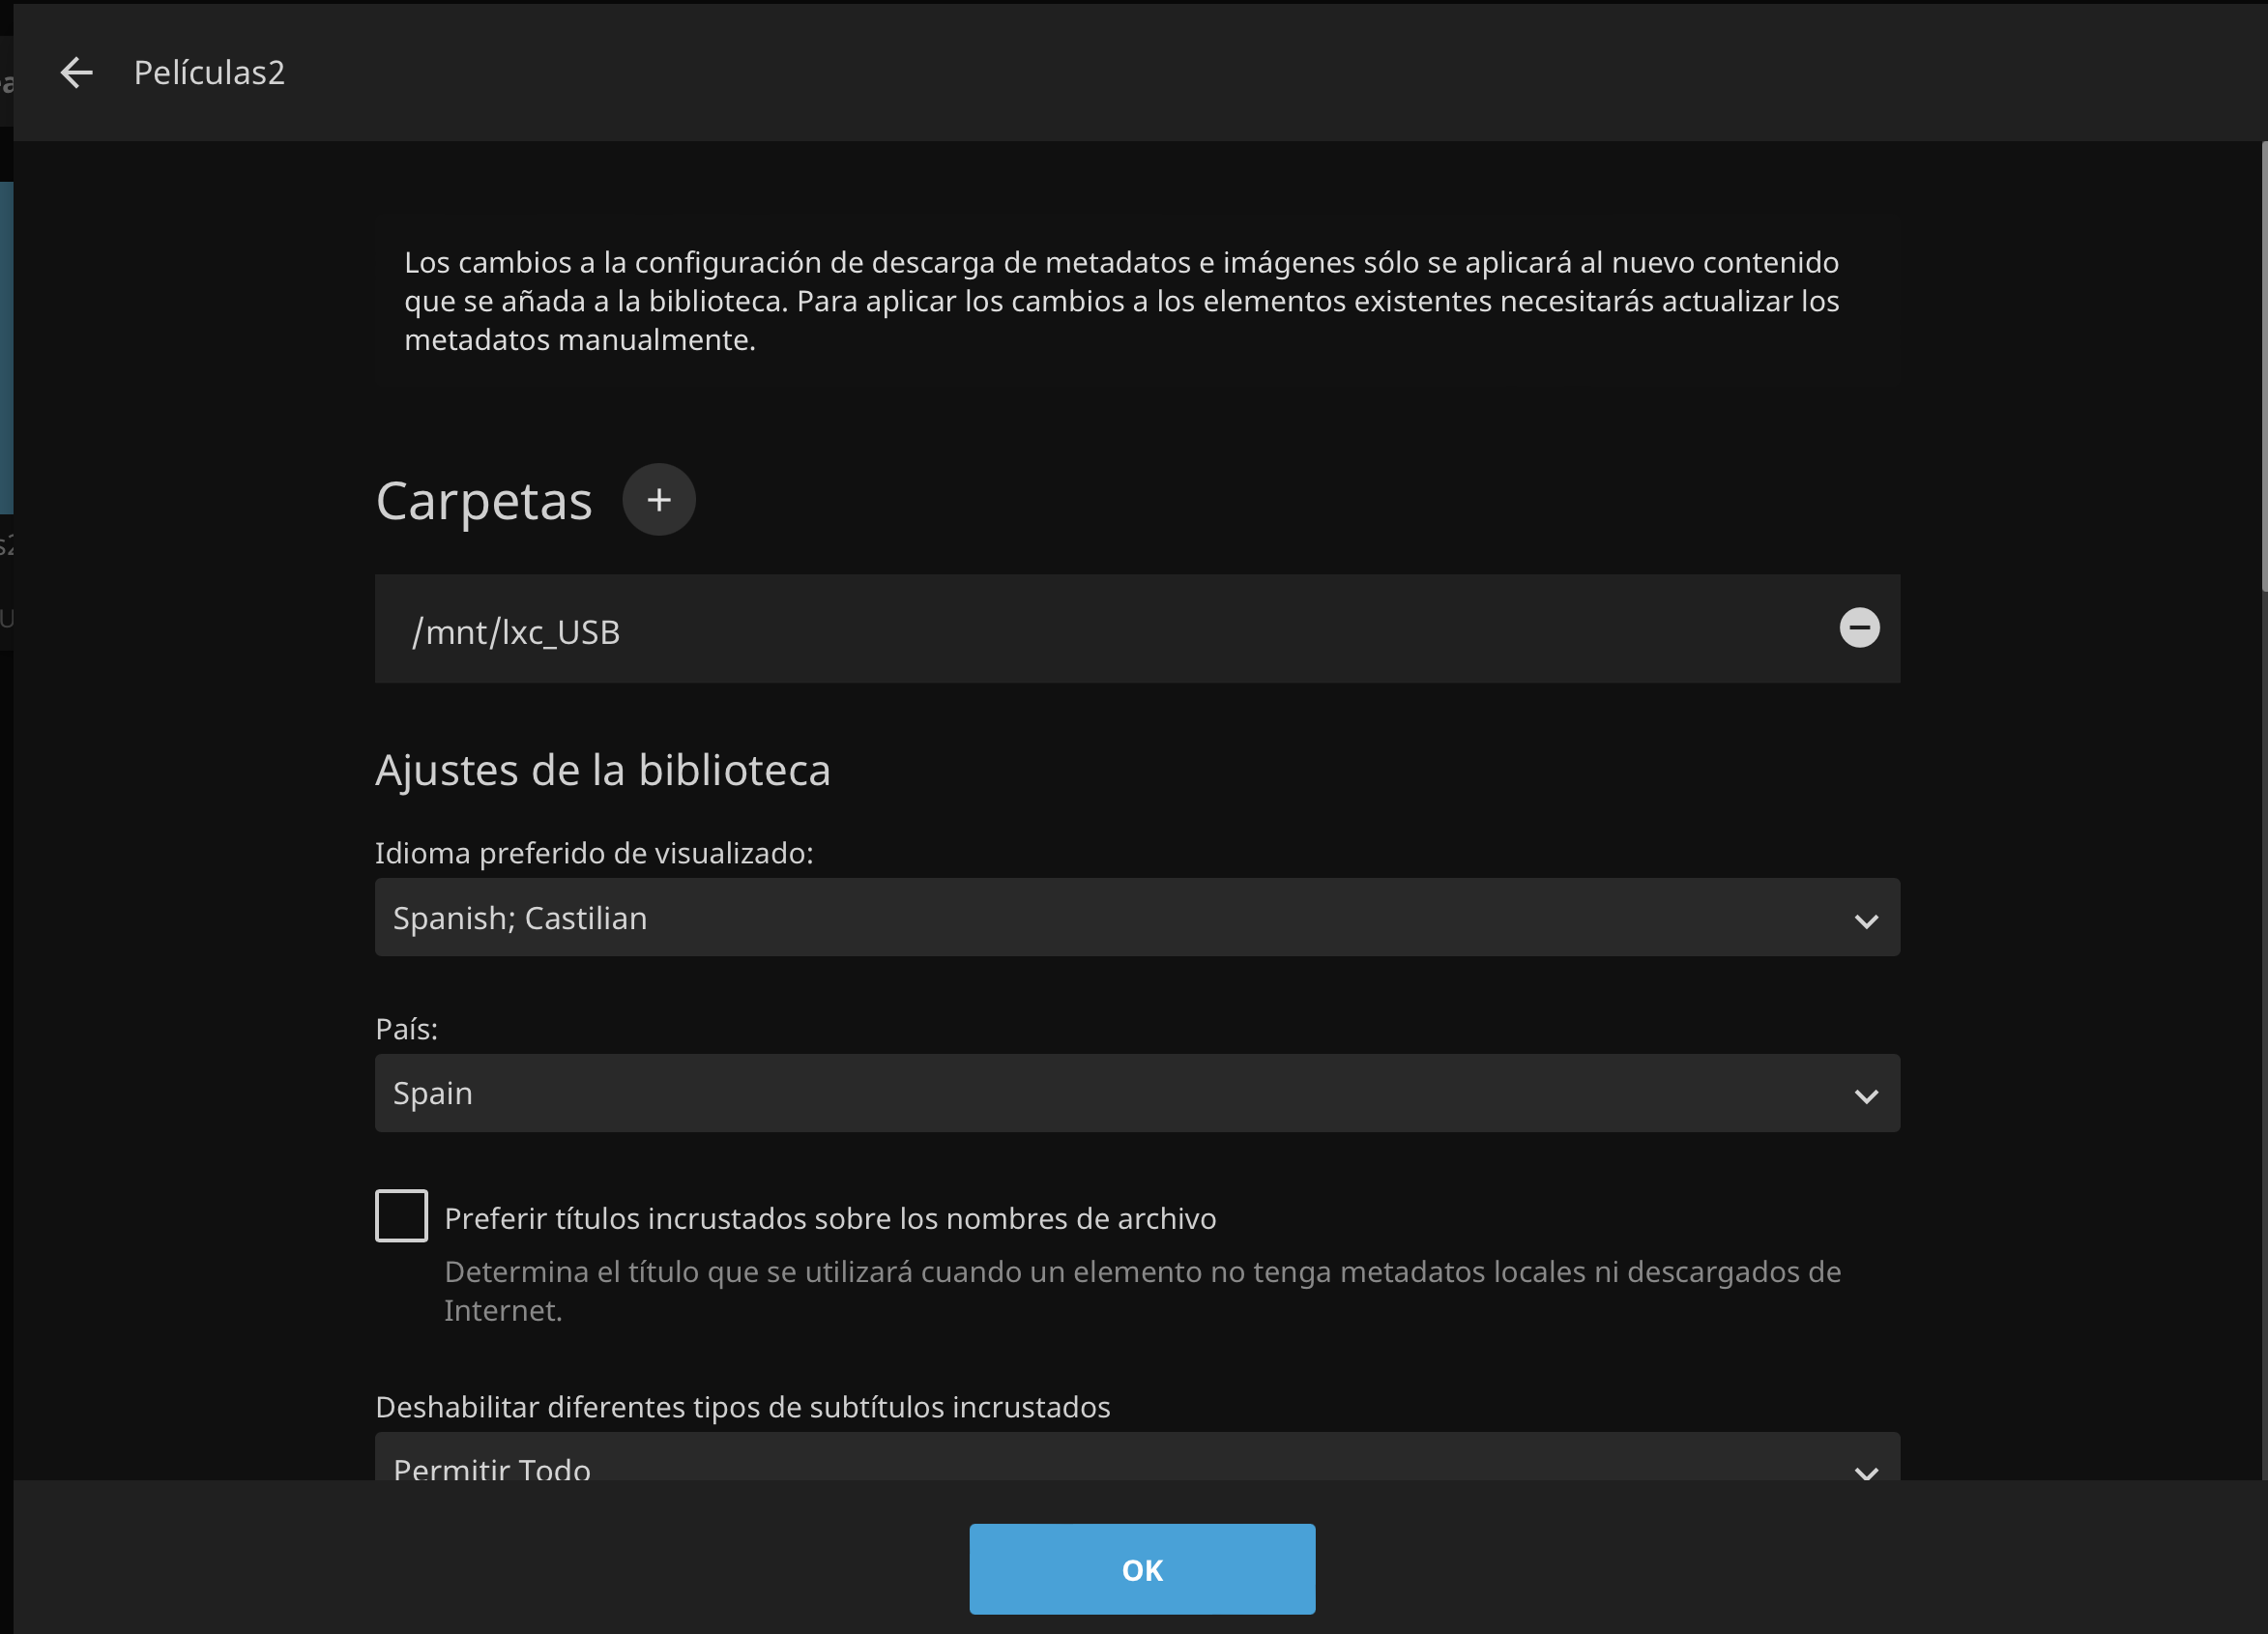
Now we can use our hard drive, use it inside the container and also share its content:
If you found this tutorial helpful and useful, you can buy me a Ko-fi! Thank you! 😊